Windshield installation
NOTE: We've added updated instructions to the bottom of this page, if you've read this page before, you may want to jump straight to it.
Click here for pricing and availability
ALSO NOTE: We now include stainless steel hardware with our windshield and windshield mount kits. These instructions show black oxide buttonhead machine screws, but since we had to have the 1/4-20 x 1/4" bolts custom made (gulp) regardless of the material, stainless steel didn't increase the cost by much.
And now, on to the instructions.
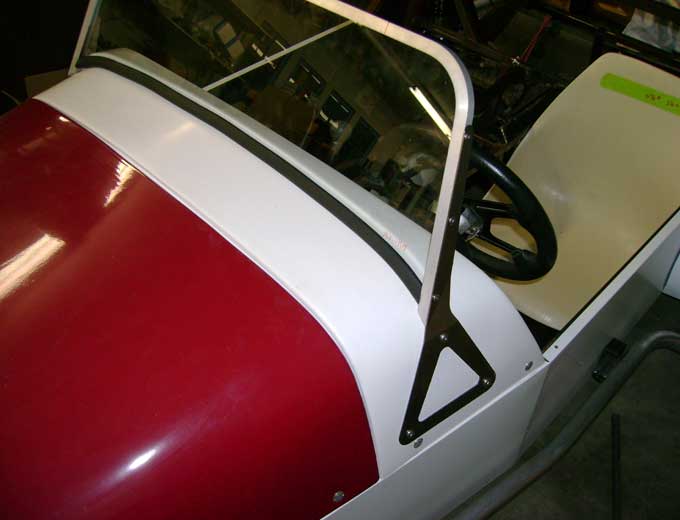
Better make yourself comfortable, here come 2000+ words on how to install a windshield. Our example here is a standard Kinetic windshield kit on a standard Kinetic TTL scuttle, previous to sanding the edges.
Our windshield kit includes a frame, two stanchions, the seal for the bottom of the windshield, and all the hardware needed to bolt the assembly together.

We've departed from the Book on one significant detail: instead of a metal frame for the bottom of the windshield, we use a flexible edge trim that surrounds the bottom of the windshield glass and fits flush to the scuttle. You'll notice the difference the first time you get surprised by a rainshower plus it fits any scuttle, and eliminates the need for bathtub caulking between a lower metal frame and the scuttle.
Our standard windshield on our TTL scuttle puts the bottom of the windshield frame at 32-1/2" above the floorboard of a Book chassis. If your windshield or scuttle or chassis are non-standard, you'll have some other number there. I suggest you tape everything together and sit in your car and make sure the top of the windshield is where you want it. It is extremely exhausting to drive a car that has its windshield frame interfering with your view of the horizon, and if due to thick seat or tall torso you find it's in the way, you'll want to trade your frame in on a taller one. To save yourself postage, check the height compatibility before you order; if you're building a stocker, have a friend hold a skinny object 32-1/2" above your floorboard while you sit in the driver's seat and stare far far away. If you want a different height windshield, don't be shy; our negative feedback binary controlled windshield frame bender (it turns on when we start it, and when the frame has bent far enough, it hits a switch and shuts off) can crank out custom height frames with ease.
So you've got your stuff, so let's get started.

Bolt the stanchions (I think I'll call them frame braces from here on out) to the windshield frame. If you got a windshield with your kit, slide it into the frame and mark the edge with a felt pen. If your windshield hasn't been made yet, you can use the cardboard template but don't mark it or trim the gasket yet &in fact, if you don't have your windshield yet, you should click your way to the windshield template page right now.

Now trim (verb) one end of the windshield base trim (noun) to fit, and mark it where the glass shows the edge of the frame will go. Incidentally, this is the first of a series of fuzzy photos, shot too close for focus and with my left hand. Do not adjust your monitor; it won't help.
Sand the ends of the trim to fit into the 3/8" channel of the windshield frame, guided by the marks you made. You can use a belt sander (or bench grinder, for that matter) but be patient and careful and go slow enough that the rubber wears away instead of melts way. The sides of the gasket will only be 1/16" thick when you're done.


As soon as we figure out a way to automate this process, we will. Unfortunately the rubber is too flexible to lock into our Bridgeport, so at present, handwork is required. To keep our prices suitably locost, we don't do anything here that you can as easily do yourself; our specialty is finding and/or fabricating those components that are hard to do one car at a time. This sanding job will take you about twelve minutes, which at our $50/hr shop rate means you've saved enough money to buy yourself lunch. We do give you a couple extra inches of trim material so you can screw up a couple times while you get the hang of it (easy on those power tools, cowboy!). Once you have one end done pretty, mount the trim on the windshield and repeat the trim-mark-sand process until the other end is just as nice.
When you're through, put the glass back in the frame and the trim onto the bottom of the glass. Now holler for some help, and get an assistant to hold the windshield in place as you mark the scuttle. You'll want the right and left braces set symmetrically to each other, the gasket back against the windshield support lip (if any) on the scuttle, the top of the windshield level, and the bottom of the braces parallel to the bottom edge of the scuttle, with the same degree of accuracy as the world's finest yacht constructors that is, if you can't see anything that looks out of position when you're looking really hard, it's close enough.
I find that putting a piece of 2" masking tape at the bottom of the scuttle helps me get the level right; you can draw reference lines on the tape to specify where you want the braces.

Use a felt pen to trace the top mounting hole onto the scuttle, and really, you should get somebody to help you, or the brace will shift like mine did while you're reaching for your camera.

Do the same on the other side, and when you're happy that it's just where you want it, drill through the scuttle on one side and bolt the brace in place. Now check the other side. Still happy? Good; drill and bolt the other side too. For precise and attractive holes, use gentle pressure when drilling fiberglass parts.
If you're at all less than happy at this point, it's time to break out a rat-tail file and modify one or both of the holes in your scuttle. You'll be looking at this scuttle for a long time. But if it's looking good, drill the remaining four holes (two per side) and bolt the braces in place. Use washers and nylock nuts.

Okay, sweep up the fiberglass dust and you're done. And sand the flashing off the edge of the scuttle while you're at it. And clean up your shop, it looks like Monday morning at the recycling center.
A few more notes, of primary interest to those doing their own scuttles and windshields (and perhaps using a few Kinetic components):

Note that the windshield brace has a 15 degree twist in it.The top part of the brace is parallel to the direction of travel, and the bottom part is parallel to the upper frame tube (as is the side of the scuttle). Every other commercially built windshield frame brace/stanchion I'm familiar with, including those priced three times as high as Kinetic's, leaves this twist as an exercise for the student, and the Book doesn't even mention it. But it has to be done, and Locost builders have come up with a number of techniques, many which leave the braces looking like they were gently bent by Gentle Ben, and some which leave the frame preloaded until the upper bolts pull out. Here's our technique:

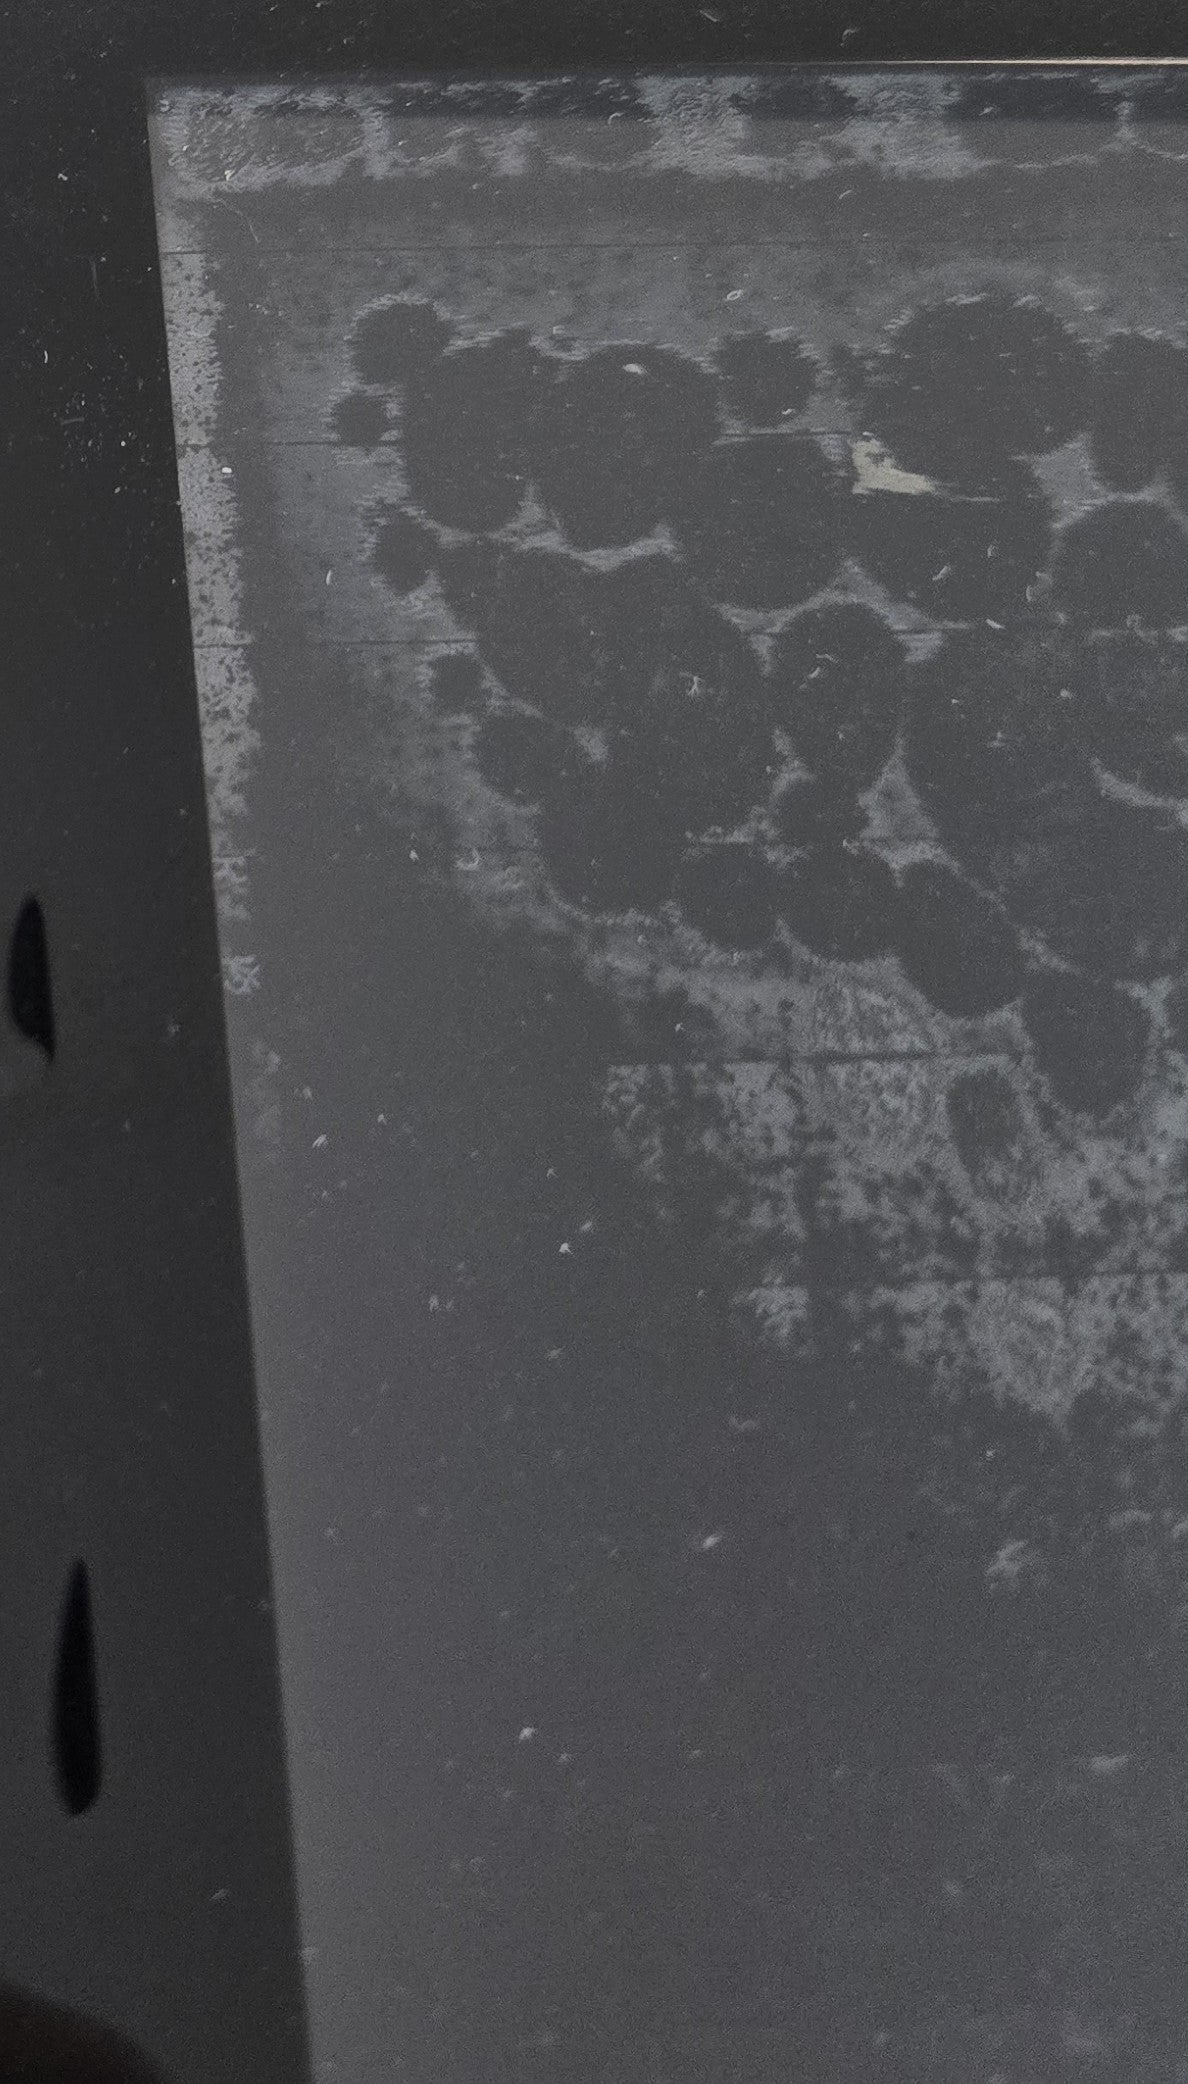
![]()
![]()

Hopefully the photos above will help illustrate this. I moved the camera right to left between pictures, so the reflections from the camera flash would light the different 'flats' of the piece. We use two 5/16" radius bends 45 degrees apart; the lower one bending in toward the center of the car, and the upper one bending out. We make the lower bend parallel with the frame rails but it's not necessary; it's the difference between the angles of the two axes that does the trick it's nice, however, to have the lower bend horizontal, because it leaves the lower bend pretty much out of the twisting process, so you can fine tune by using the upper bend to set twist, and the lower bend to set the in-and-out angle of the upper arm. Besides, I like the way it looks &but then again, I'm the guy who likes the look of a big black teardrop-shaped gasket at the bottom of the windshield.

I also like the look of a very thin setback between the front edge of the brace and the front edge of the frame, but you can drill and tap your frame to suit your own tastes, and the predrilled holes in our windshield braces are positioned so you can set the edges flush with each other if you prefer. Our standard hardware is stainless steel button head bolts, but if you like, we can provide the whole set (six 1/4 x 1/4 windshield frame bolts and six 5/16 x 1 scuttle attachment bolts) in black oxide finish,as shown in this tutorial. If you're using your own hardware, use coarse thread (1/4-20); you'll find the aluminum taps much better that way, and don't use bolts longer than 1/4" or they may put pressure on (and crack) the edge of your windshield glass.

You'll note that the top hole in the scuttle is drilled &
I can't stand looking at this any longer. Wait here a sec.

Okay, I spent five minutes with a piece of 80 grit sandpaper on a sanding block, and took the flashing and stray fibers off the bottom and front edges of the scuttle. I set a digital oven timer, pressed 'start', grabbed some vinyl gloves and the sanding block (which we keep armed at all times in case of such an emergency) and went at it 'till the ding. I thought I could get it perfect in five, but should have allowed 7-1/2; as you can see the front inside edge still needs to come down a little bit. But you get the idea.
We don't finish the edges for you because A) you'd have to pay us for our time, B) you may want to trim the edges to a custom shape first before breaking out the sandpaper, and C) some people want to give the edges a two minute hit with a belt sander and get on the road, while other people want to spend an hour with emery paper so their car will look primo at Pebble Beach. We respect both persuasions, but don't want to guess which one's yours.
So as I was saying, you'll note that the top hole in the scuttle is drilled quite close to the windshield lip; you may want to grind a flat on one edge of the backup washer.
Send the scuttle and braces off for paint, and if you'd like to polish the frame, this is the time after the fitting and before the final installation.
There's one last step in the final installation which I don't have photos of because we were shipping this one without a windshield: sealing the windshield into the frame. The best stuff for this (in my opinion) is available from most automotive glass shops; it's called "setting tape" or "channel packing" and it comes in a variety of sizes and thicknesses. The .060 (sometimes known as 1/16") thickness is right for 1/4" laminated safety glass (AS-1) and 1-1/2" wide is easy to handle.
Here's a demo with a little hunk of the setting tape, but when installing for real, use a piece that's long enough to cover the whole edge at once (you'll have to stretch it a bit as you go around the upper curves).
Slather the tape and the inside of the channel with soapy water &

&wrap the tape around the glass &

&and push the windshield into place. Sorry about the flash.
If you install the windshield on your car (or else just on the scuttle) while the setting tape is still wet and slick, it will seal itself to the exact shape you want. That's what the pros tell me. Also, wait until it's installed to trim off the excess; easily done with a razor blade, using the frame as a guide.
The whole installation takes about a person-hour (including ten minutes' help from your assistant), not including making a windshield template for your local glazier. If you take your locosting very seriously and you make your own windshield, we'd like to hear how it went.
UPDATAE 2008: Below are another thousand words of lessons learned to make installation easier. Much of it contradicts the instructions above; we'll leave it to you to decide which technique best suits your style. Here goes:

If you're doing a standard height windshield, using the standard glass or standard template, you can measure and cut the legs of the windshield frame at 12-1/2" from the top of the frame.
a
Cut the legs at a 45 degree angle from the mark. Round the inside corner (a flap wheel works fast, a sanding block works eventually) so it doesn't scratch your scuttle.

The lowest stanchion attachement hole is 1-1/2" above the end of the frame leg. Once this is drilled and tapped (see the original instructions for details, but if you're using our hardware it's a 1/4-20 tap) you can temporarily attach the stanchion and mark (and tap) the other two holes.

The rear corners of the frame should be cut back a bit more than the front. It won't show, so there's no points for neatness, but this corner will hit the scuttle if it's not cut back, to about this red felt pen mark. If you don't have a flap wheel, cut it back first with a hacksaw, then sand it smooth with a sanding block.

Slide the glass into position (read the windshield template page if you don't have your glass yet) and mark where it fits in the frame with a felt pen, By the way, you'll note that this glass had "driver" written on it with felt pen. That's 'cause the scuttle is not perfectly symetrical; you'll get a nicer fit if you're consistent in how you place your windshield as you measure and mount. Also, if you're in a state that calls for a "bug" (that's what the glaziers call it; it's a little certification mark etched into the bottom of the windshield to show that, sure enough, it's safety glass) it's best to have it readable from the outside of the car.

Place the bottom seal material on the windshield, with a bit hanging over each end. Cut the ends off with a razor blade, in line with the felt pen mark on the windshield--or maybe a little extra; it will get compressed to a snug fit when you mount the stanchions to the scuttle.
Honestly, I don't know why I made this so complicated before. Just ignore everything I wrote about fitting the seal into the frame.

Install the glass in the frame with setting tape (the instructions are above), screw the stanchions to the frame, and place the assembly on the scuttle. Mark the mounting hole positions with a felt pen, through the stanchion and on to the scuttle, and drill the three 5/16" mounting holes per side. You want the stanchions level and symetrical, so check both sides while you're doing this, and drill one hole at a time and recheck--it'll save you rat tail file time in the future.

The finished product comes out pretty nice, and in my opinion, fits the character of the car. It would look even nicer if I'd wiped the word "driver" off the inside left corner of the glass.

You might want to mark a target for the front mounting hole, 2-1/8" back from the front lip of the scuttle and 2-1/4" up from the mold line on the bottom (or the bottom, if you're mounting the scuttle without any fiberglass mods) but since there is likely to be some slight variation between windshields and glaziers, I wouldn't drill it until I'd test fit the entire windshield assembly.
The two big holes at the bottom are for Dzus fasteners, to hold the scuttle to the chassis, and if you're wondering if I drive around with instructional measurements felt penned all over my car, well, yes, I do. When the time comes to paint it I'll probably wipe them off with acetone or laquer thinner--I sure don't need them there as a conversation starter, the Locost does that by itself.
Because the upper mounting hole is going to end up close to a bump in the scuttle, the inside of the scuttle won't be exactly flat, so for the top bolt only, I put a short piece of vinyl tubing between the scuttle and the washer when bolting the assembly in place.
Related Posts
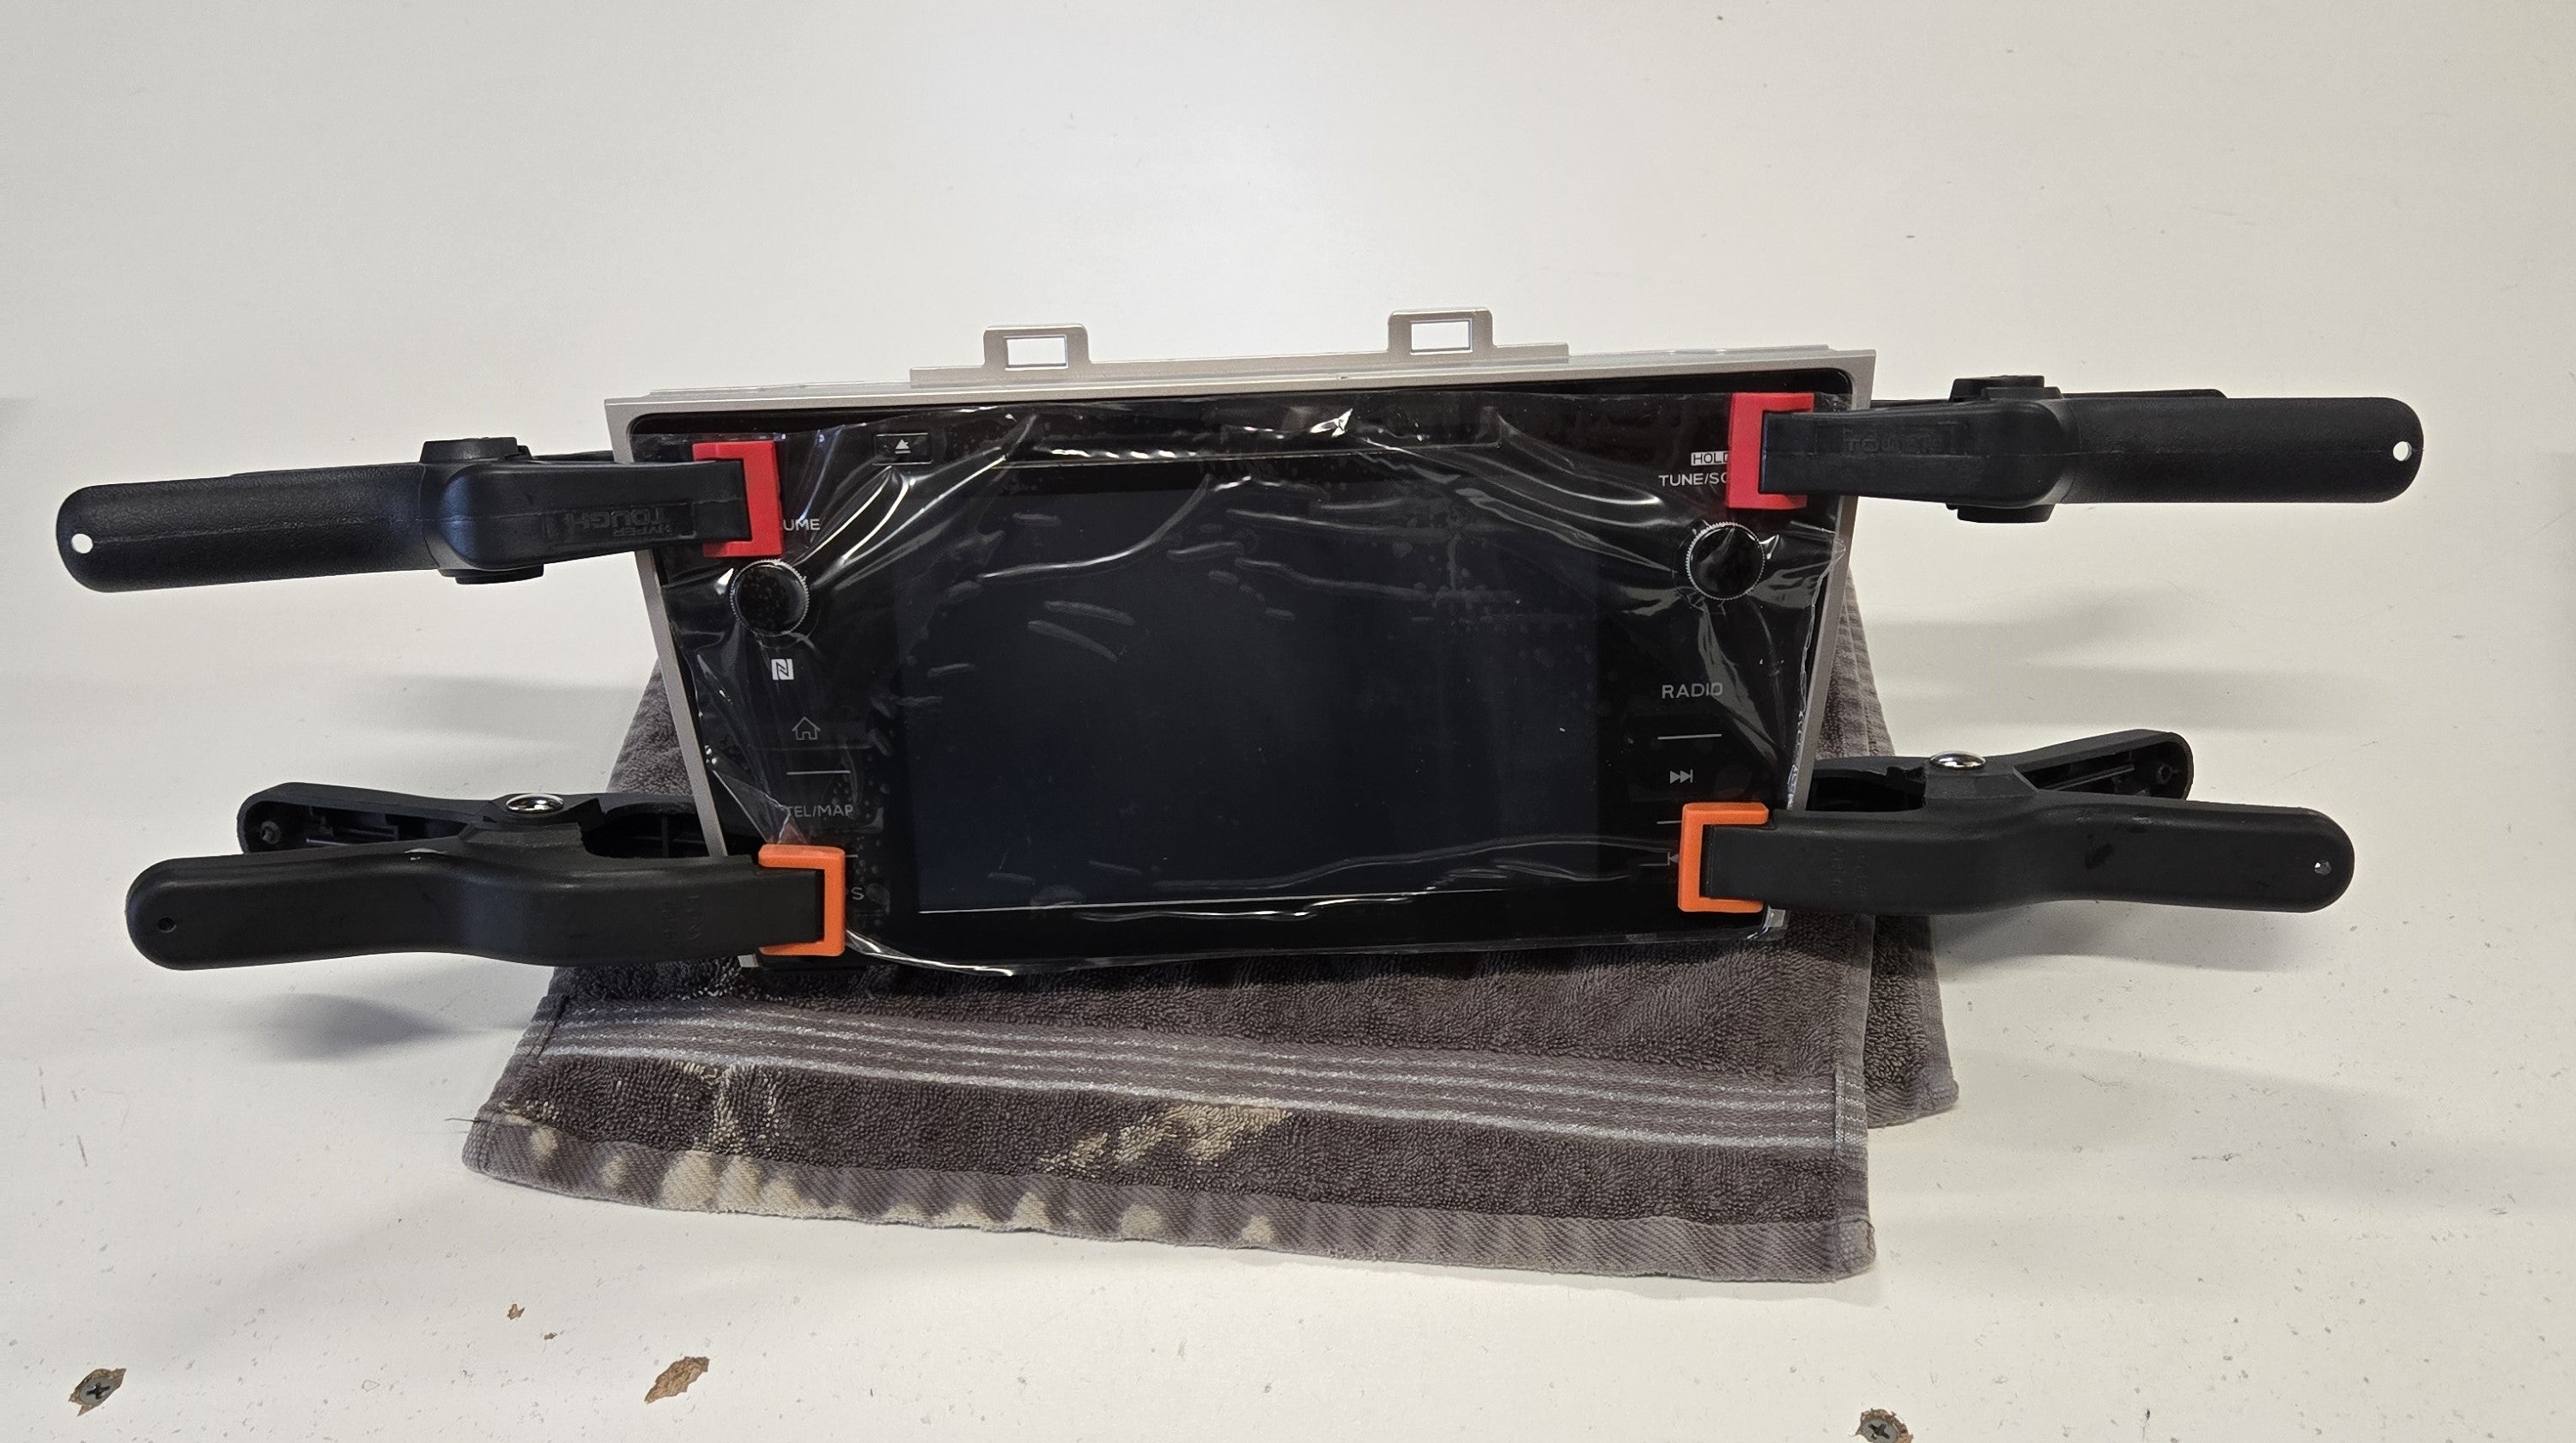
Is Your Subaru Outback Touchscreen Going Crazy? It Might Be Delaminating
What if I do not have the Harman Kardon radio in my 2018 2019 Subaru Outback
How to fix Apple carplay or Android Auto
Touchscreen installation tips
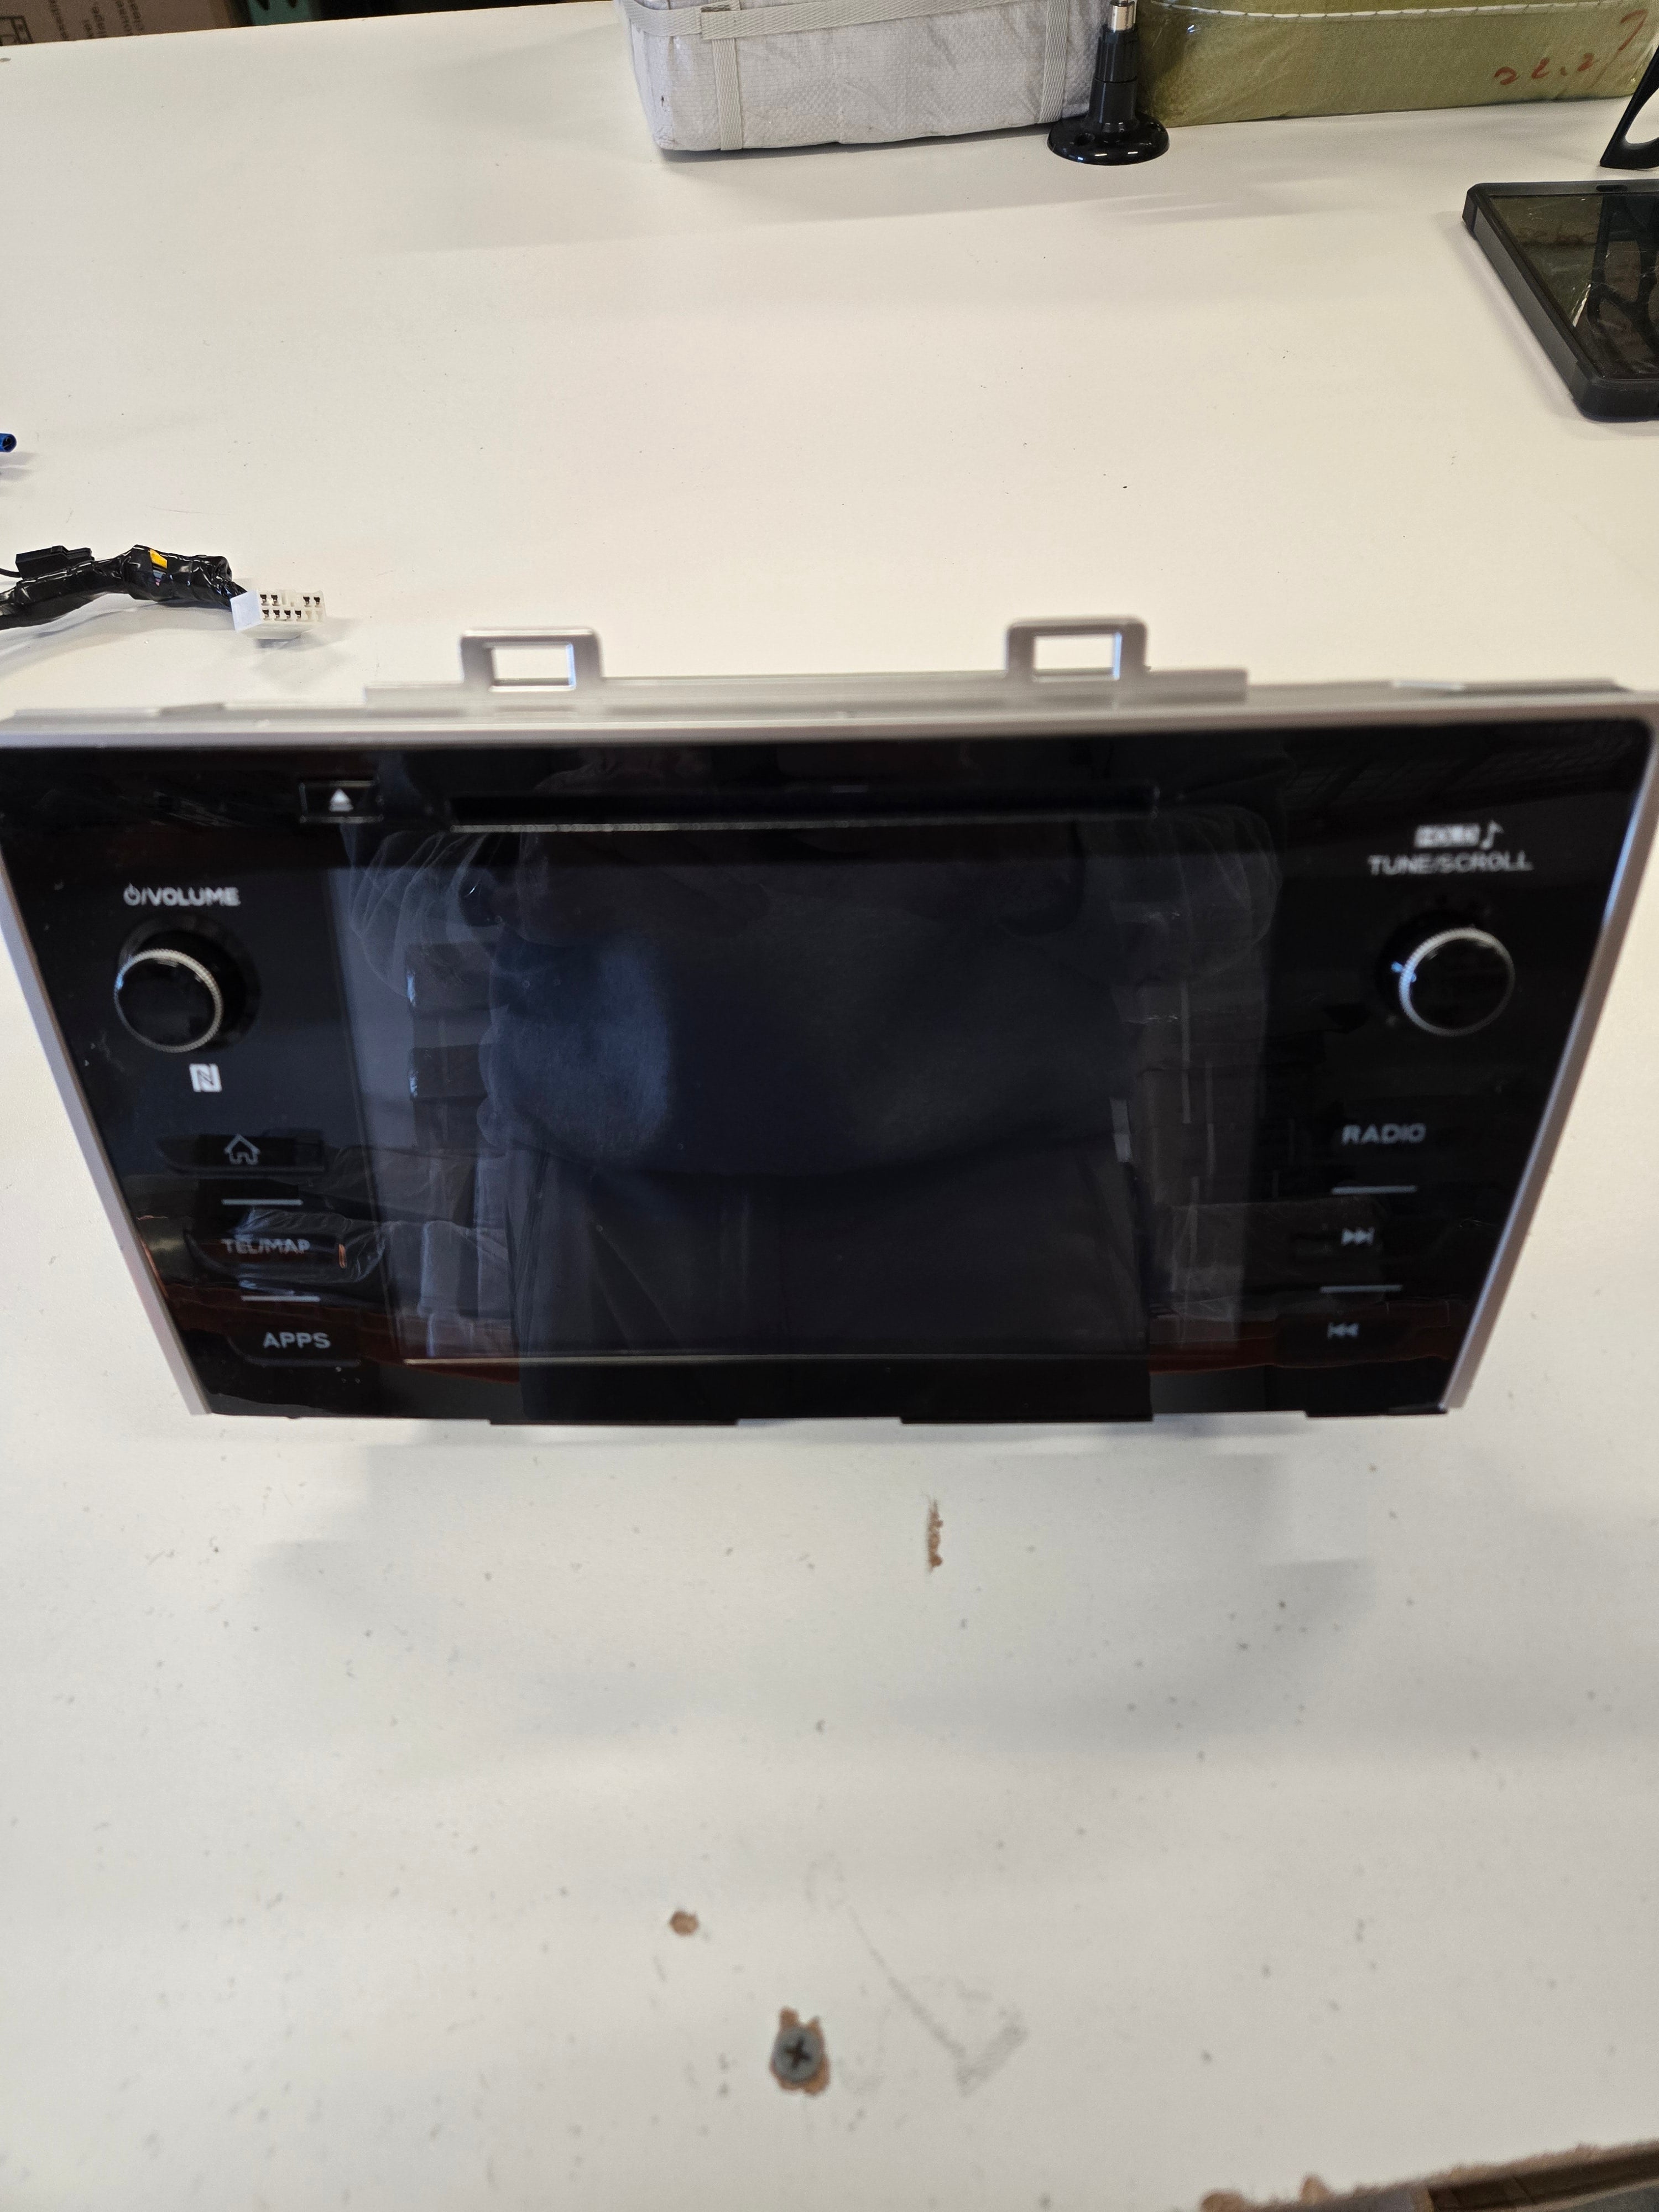
2018 2019 Subaru Outback and Legacy Radio Screen Delamination: Troubleshooting Your Infotainment Issues
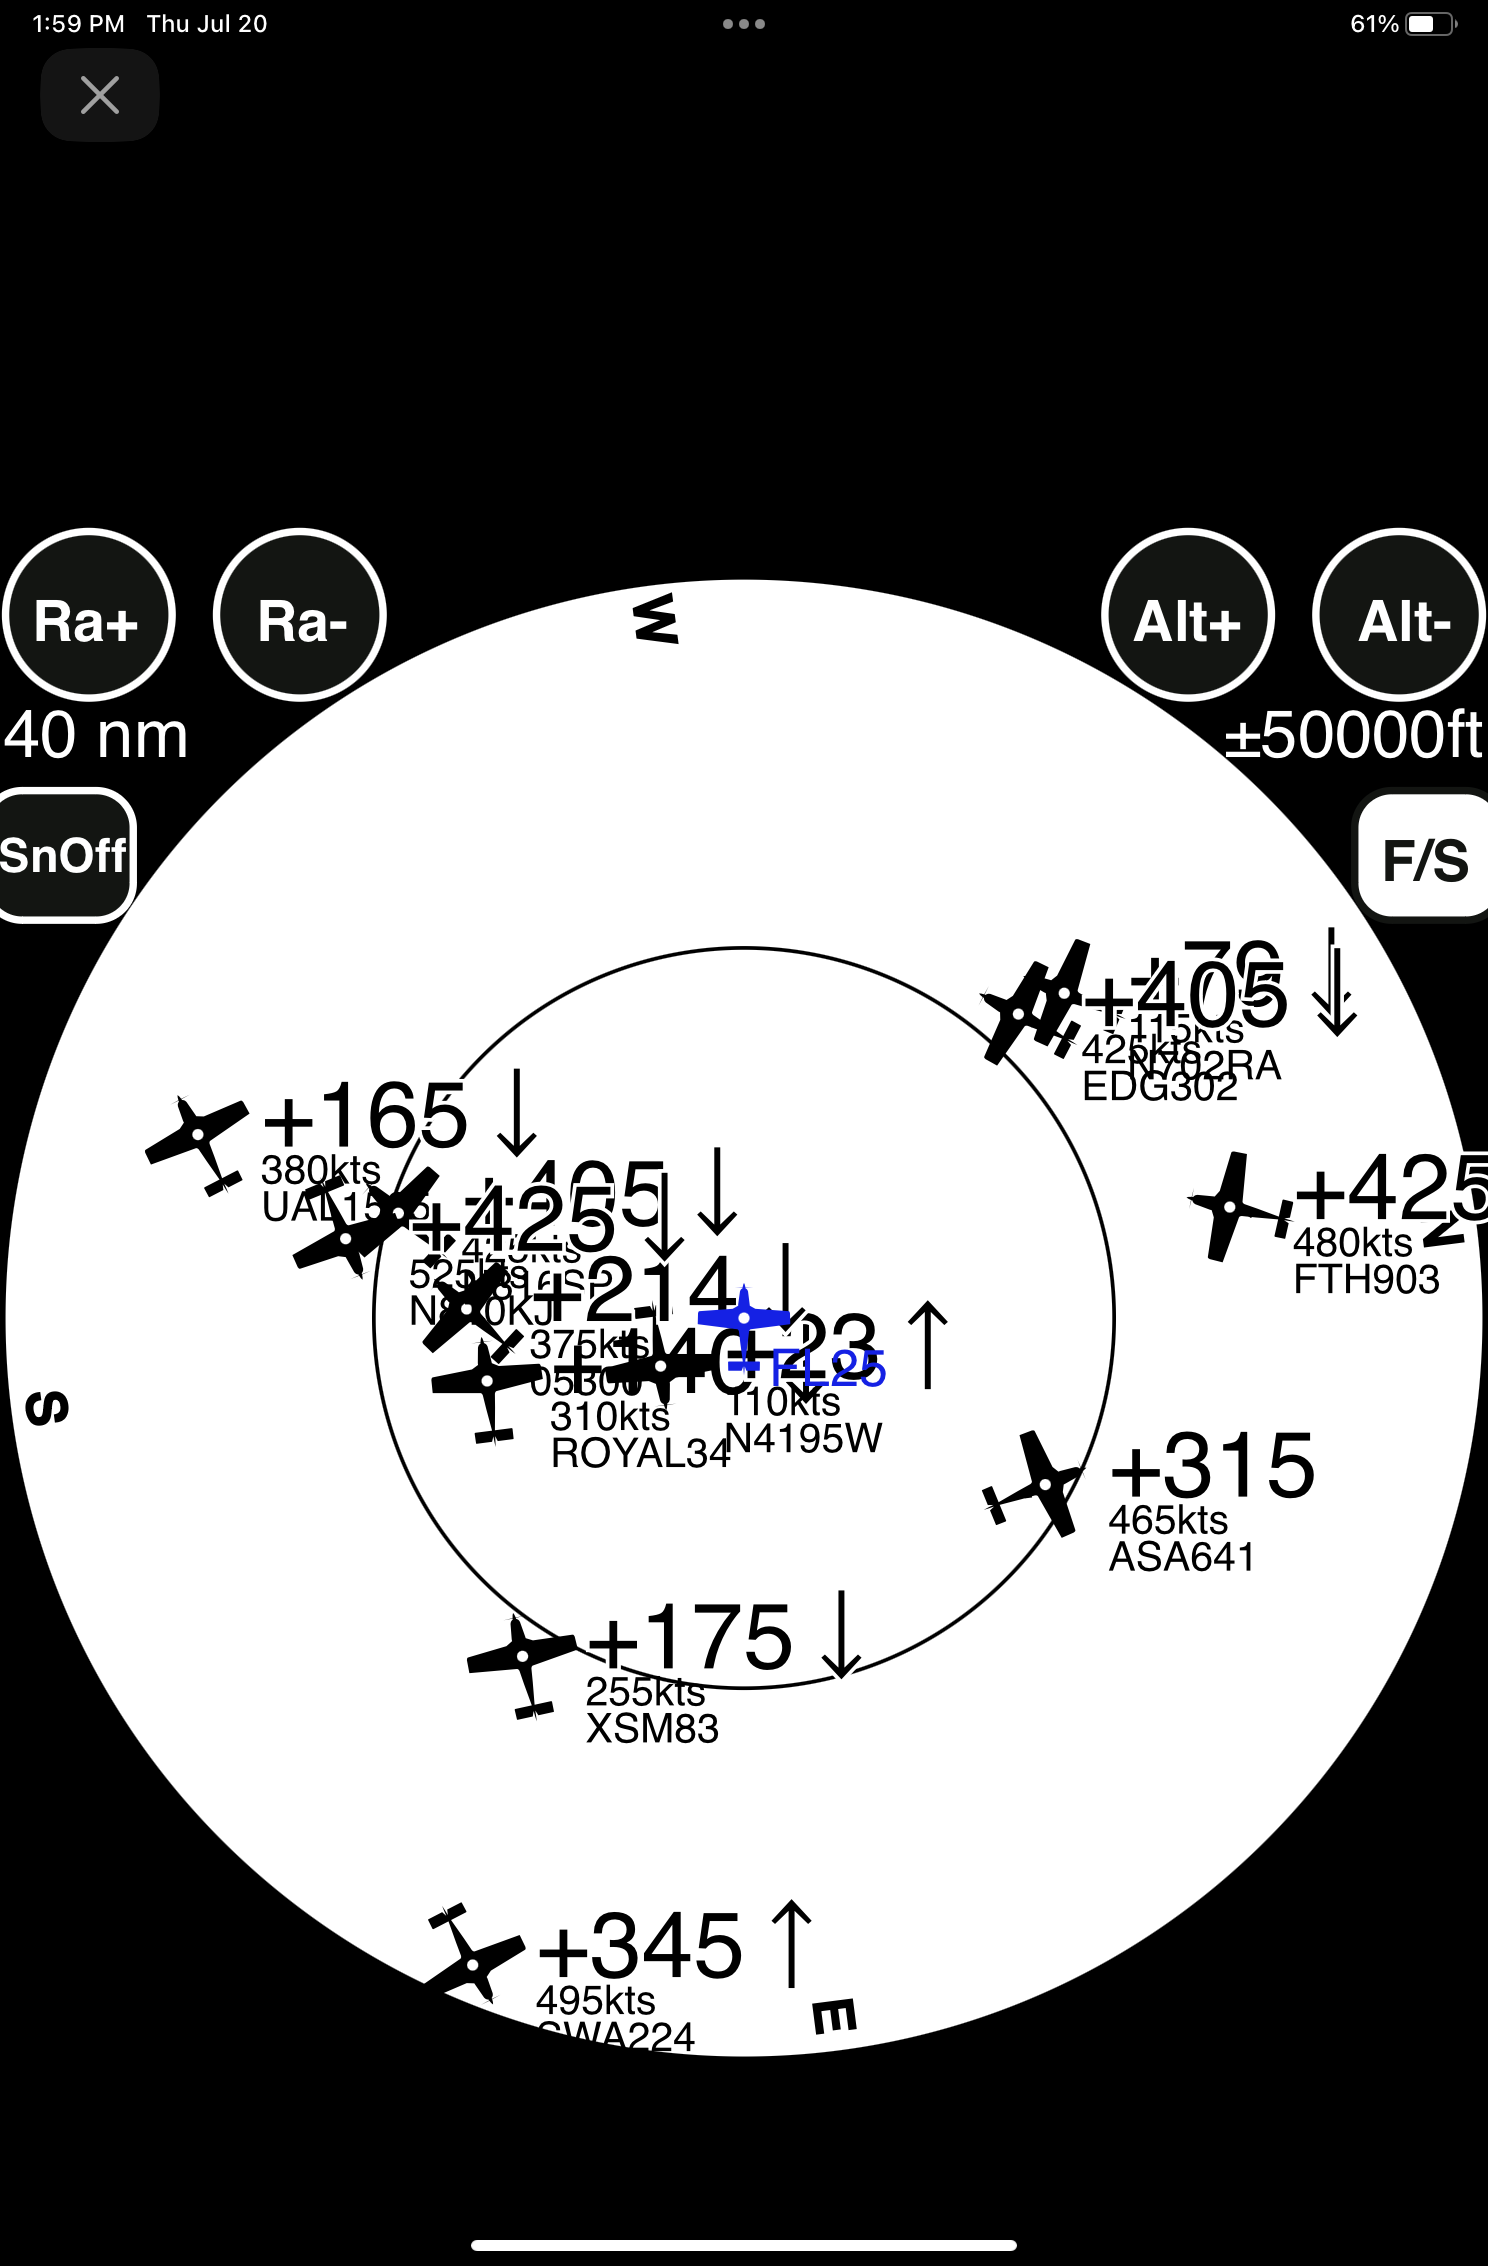
Unlocking the Power of ADS-B: The Ultimate Guide to ADS-B Receivers