Making a windshield template
We can supply a windshield for you, in AS-1, provided it's to fit a Kinetic or CMC scuttle. However, at present we're having them made locally in onesies and by the time they're in a suitable shipping box they're $100. You can beat that by twenty bucks (and maybe more) by having your local auto glass guys do. Also, if it's your own scuttle, there's really no other way to go, since you need to duplicate the curve on the top of the scuttle onto the bottom of the glass.

We make it a bit easier for our windshield mount kit users by including a pretty close template, but you will need to refine this template before giving it to your glazier.

Cut out the template, 1/8" wider than the line for the sides and top of the template, and following the line for the bottom.
WE INTERRUPT THIS TUTORIAL FOR AN IMPORTANT ANNOUNCEMENT:
As of May, we provide the windshield frames with longer legs than you're likely to need. Some builders have found they wanted taller windshields than they first thought, and the place to make the decision is during the cardboard carving stage. Before trimming the windshield frame, tape your cardboard template to the stanchions and your stanchions to the scuttle, and decide if the windshield height is indeed where you want it. If you want it higher, place a corner of the frame over a roundish object (I used my leg just below my knee, protected by a thick glossy magazine) and give it a quick jerk to tighten the bend a trifle. Then do the same on the other corner. On the photos below, the upper frame has had its corners tightened a trifle; it's barely visible, even with one frame on top of the other, but it's enough to raise the windshield 1-1/2".

Here's a closer look.

As mentioned in the Windshield installation tutorial, it is very annoying to have the top of the windshield at your horizon line. The time to get it right is when you're cutting cardboard, not glass.
NOW BACK TO OUR TUTORIAL, WHICH IS ALREADY IN PROGRESS

Put the template in the windshield frame, mount the frame braces, and put it in place on the scuttle. You can mount the braces to the scuttle at this time if you like but I prefer to wait until the glass is done. For now I think you're better off if you tape the frame in place instead of bolting it in place, but if you do choose to bolt it solidly, resist the impulse to drive the vehicle with the cardboard in the frame. Our attorney said we should mention this.

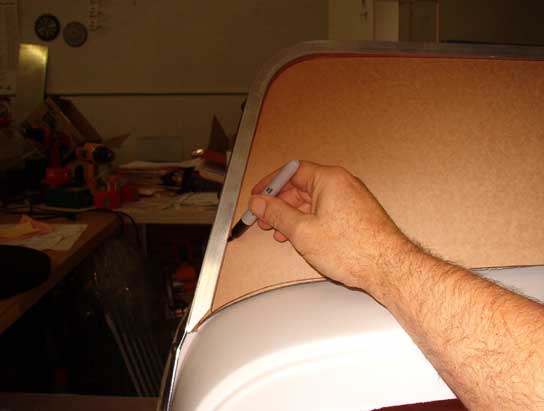
Lift the cardboard as high as it will go in the frame, and tape it in place temporarily (painter's masking tape is good for this part of the job, since you'll be untaping it at least twice). To set the lower trimline, trace the curve of the scuttle onto the template, spaced away as needed to allow your bottom trim material to fit. If you're using the edging we supply with our kits, the radius of a Sharpie is just right; lay the Sharpie flat on the scuttle and slide it back until it touches the template, then slide it from one end to the other.

Remove the template, cut along that line you just drew and install the template again. Put it in position in the frame by spacing the bottom edge above the scuttle as needed. If you're using our base trim, cut a couple of 1/2" long pieces of the trim and slip them onto the template about...well, the truth is, one should go about where my wrist is blocking the view, and one on the other side where it's not in the photo at all. What a moron! I'll do another photo one of these days, but for now you'll have to use your imagination. Once it's spaced in place, trace around the frame with your Sharpie. You may have to do a little bit of touchup on the bottom (note the redrawn curve at the scuttle line), if so, just redraw it and do your final trim after removing the template for the last time.

Draw a new trimline 1/4" outside the line you traced along the frame. It should be pretty close to the original line we drew here at the factory, but let your own line guide your knife. Cut it out at your trimline, and at any corrections you made to the bottom...

,,,and tell your auto glass cutter to make you one just like this, only clear. Tell the glass cutter that rounding the pointy corners is fine with you, since points are difficult to make with accuracy and will add at least ten bucks to your cost.
Related Posts
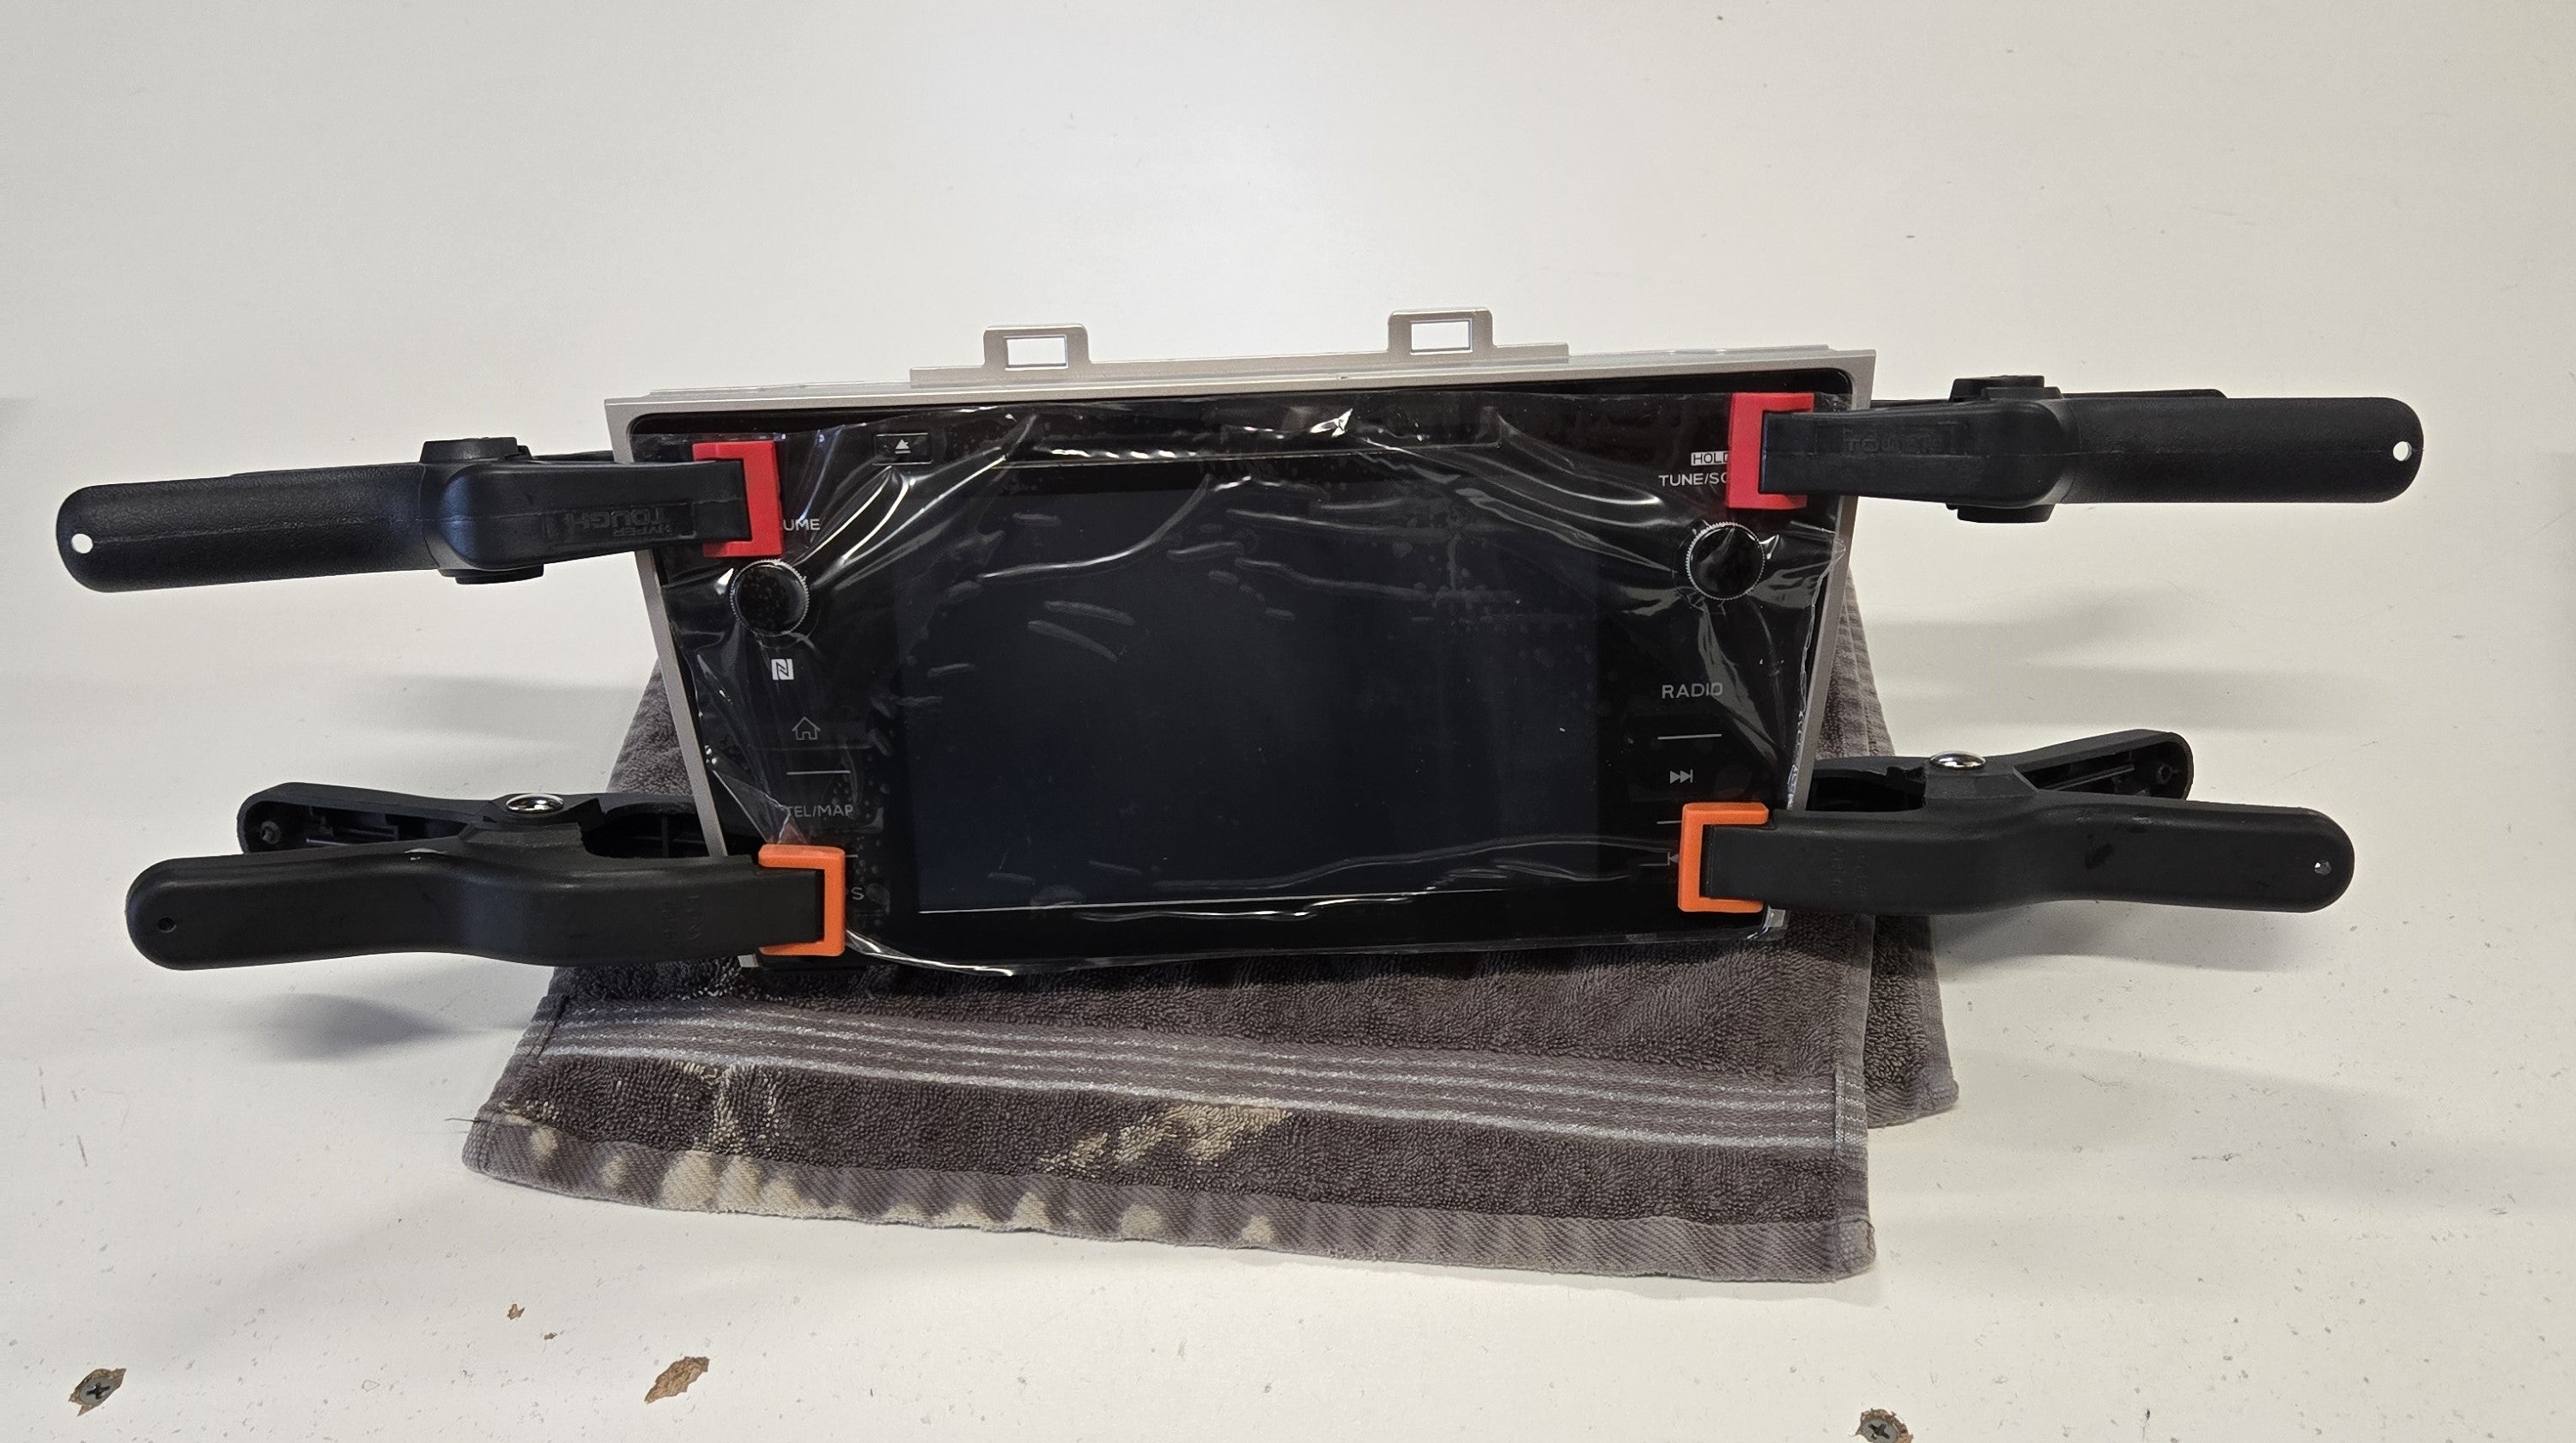
Is Your Subaru Outback Touchscreen Going Crazy? It Might Be Delaminating
What if I do not have the Harman Kardon radio in my 2018 2019 Subaru Outback
How to fix Apple carplay or Android Auto
Touchscreen installation tips
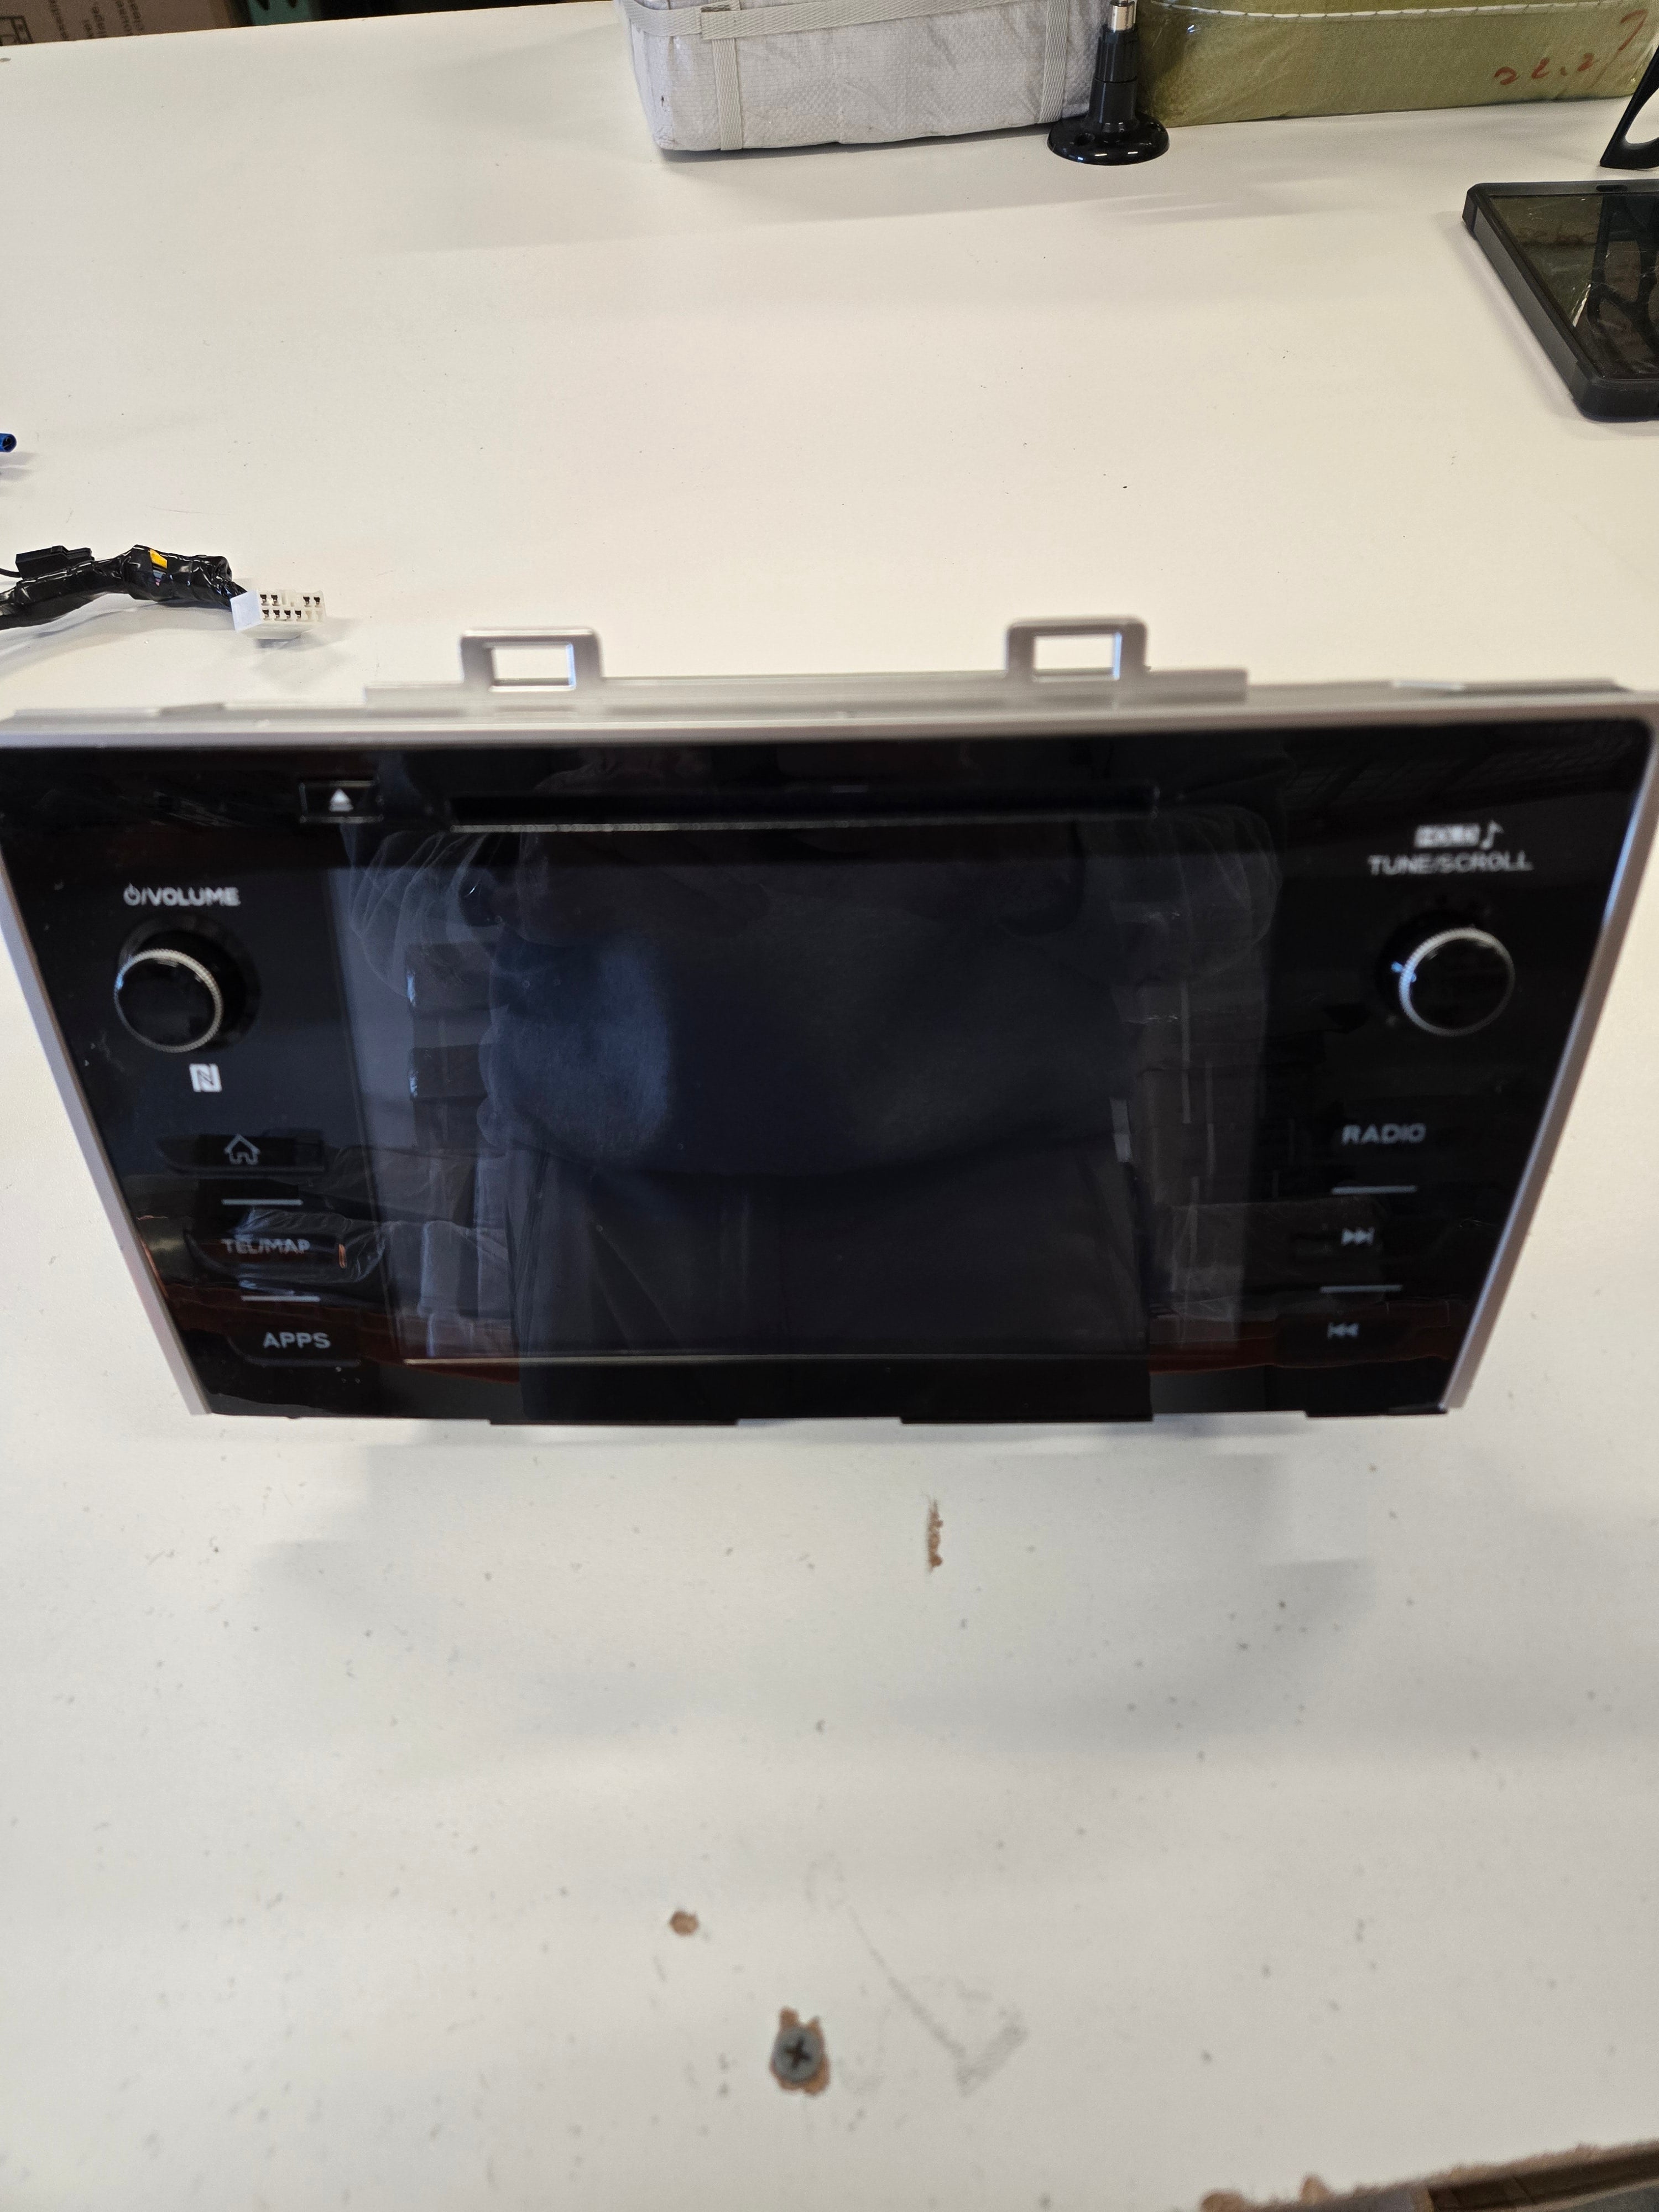
2018 2019 Subaru Outback and Legacy Radio Screen Delamination: Troubleshooting Your Infotainment Issues
Unlocking the Power of ADS-B: The Ultimate Guide to ADS-B Receivers