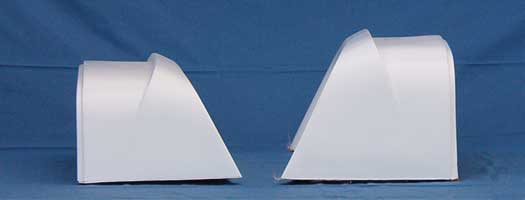
Scuttles for the Locost

We offer two scuttle sizes too; the TTL shown on the right and the Catfish on the left. You have to finish the edges (note the fuzzies on the left lower corners in the TTL photo—that's typical of the stuff you have to sand off).

Unlike the nose, there's not much to be gained from raising or lowering the scuttle, or tilting it fore and aft. The TTL scuttle is one inch taller than the Lotus 7 Series 2, but the Catfish scuttle is only one inch lower (since regardless of engine choice, knees and feet and steering wheels don't get much smaller).
However—ooh man, I almost hate to bring this up—it's not uncommon for custom built cars to have a tiny bit of unplanned asymmetry, and if you want maximum points at the coffee shop concours, you'll want to do what the legendary coachbuilders of yesteryear did: build your chassis as precisely as possible, and when it's time to mount the bodywork, adjust fit as needed for best appearance.
To adjust fit, position the nose first and then set the scuttle in place. Scootch yourself down in front of your car and sight over the nose. Is the scuttle right where you want it? Great, but if not, if perhaps one side seems a little higher than the other, try putting shims under the low side until it looks right. to you, and then trim the thickness of the shims off of the other side of the scuttle. Set the scuttle back in place and look again, and if you like what you see, attach the scuttle to the chassis.
The 'locost' way is weld tabs to the upper frame rails, drill through the scuttle and tab, and bolt them together, but my preference is to use Dzus fasteners—see Dzus fastener installation in tech articles.

April 24, 2007—This just in—the "Superscuttle" for frames up to 48" wide. It's a two piece kit; click here for more photos and instructions.
Related Posts
Is Your Subaru Outback Touchscreen Going Crazy? It Might Be Delaminating
What if I do not have the Harman Kardon radio in my 2018 2019 Subaru Outback
How to fix Apple carplay or Android Auto
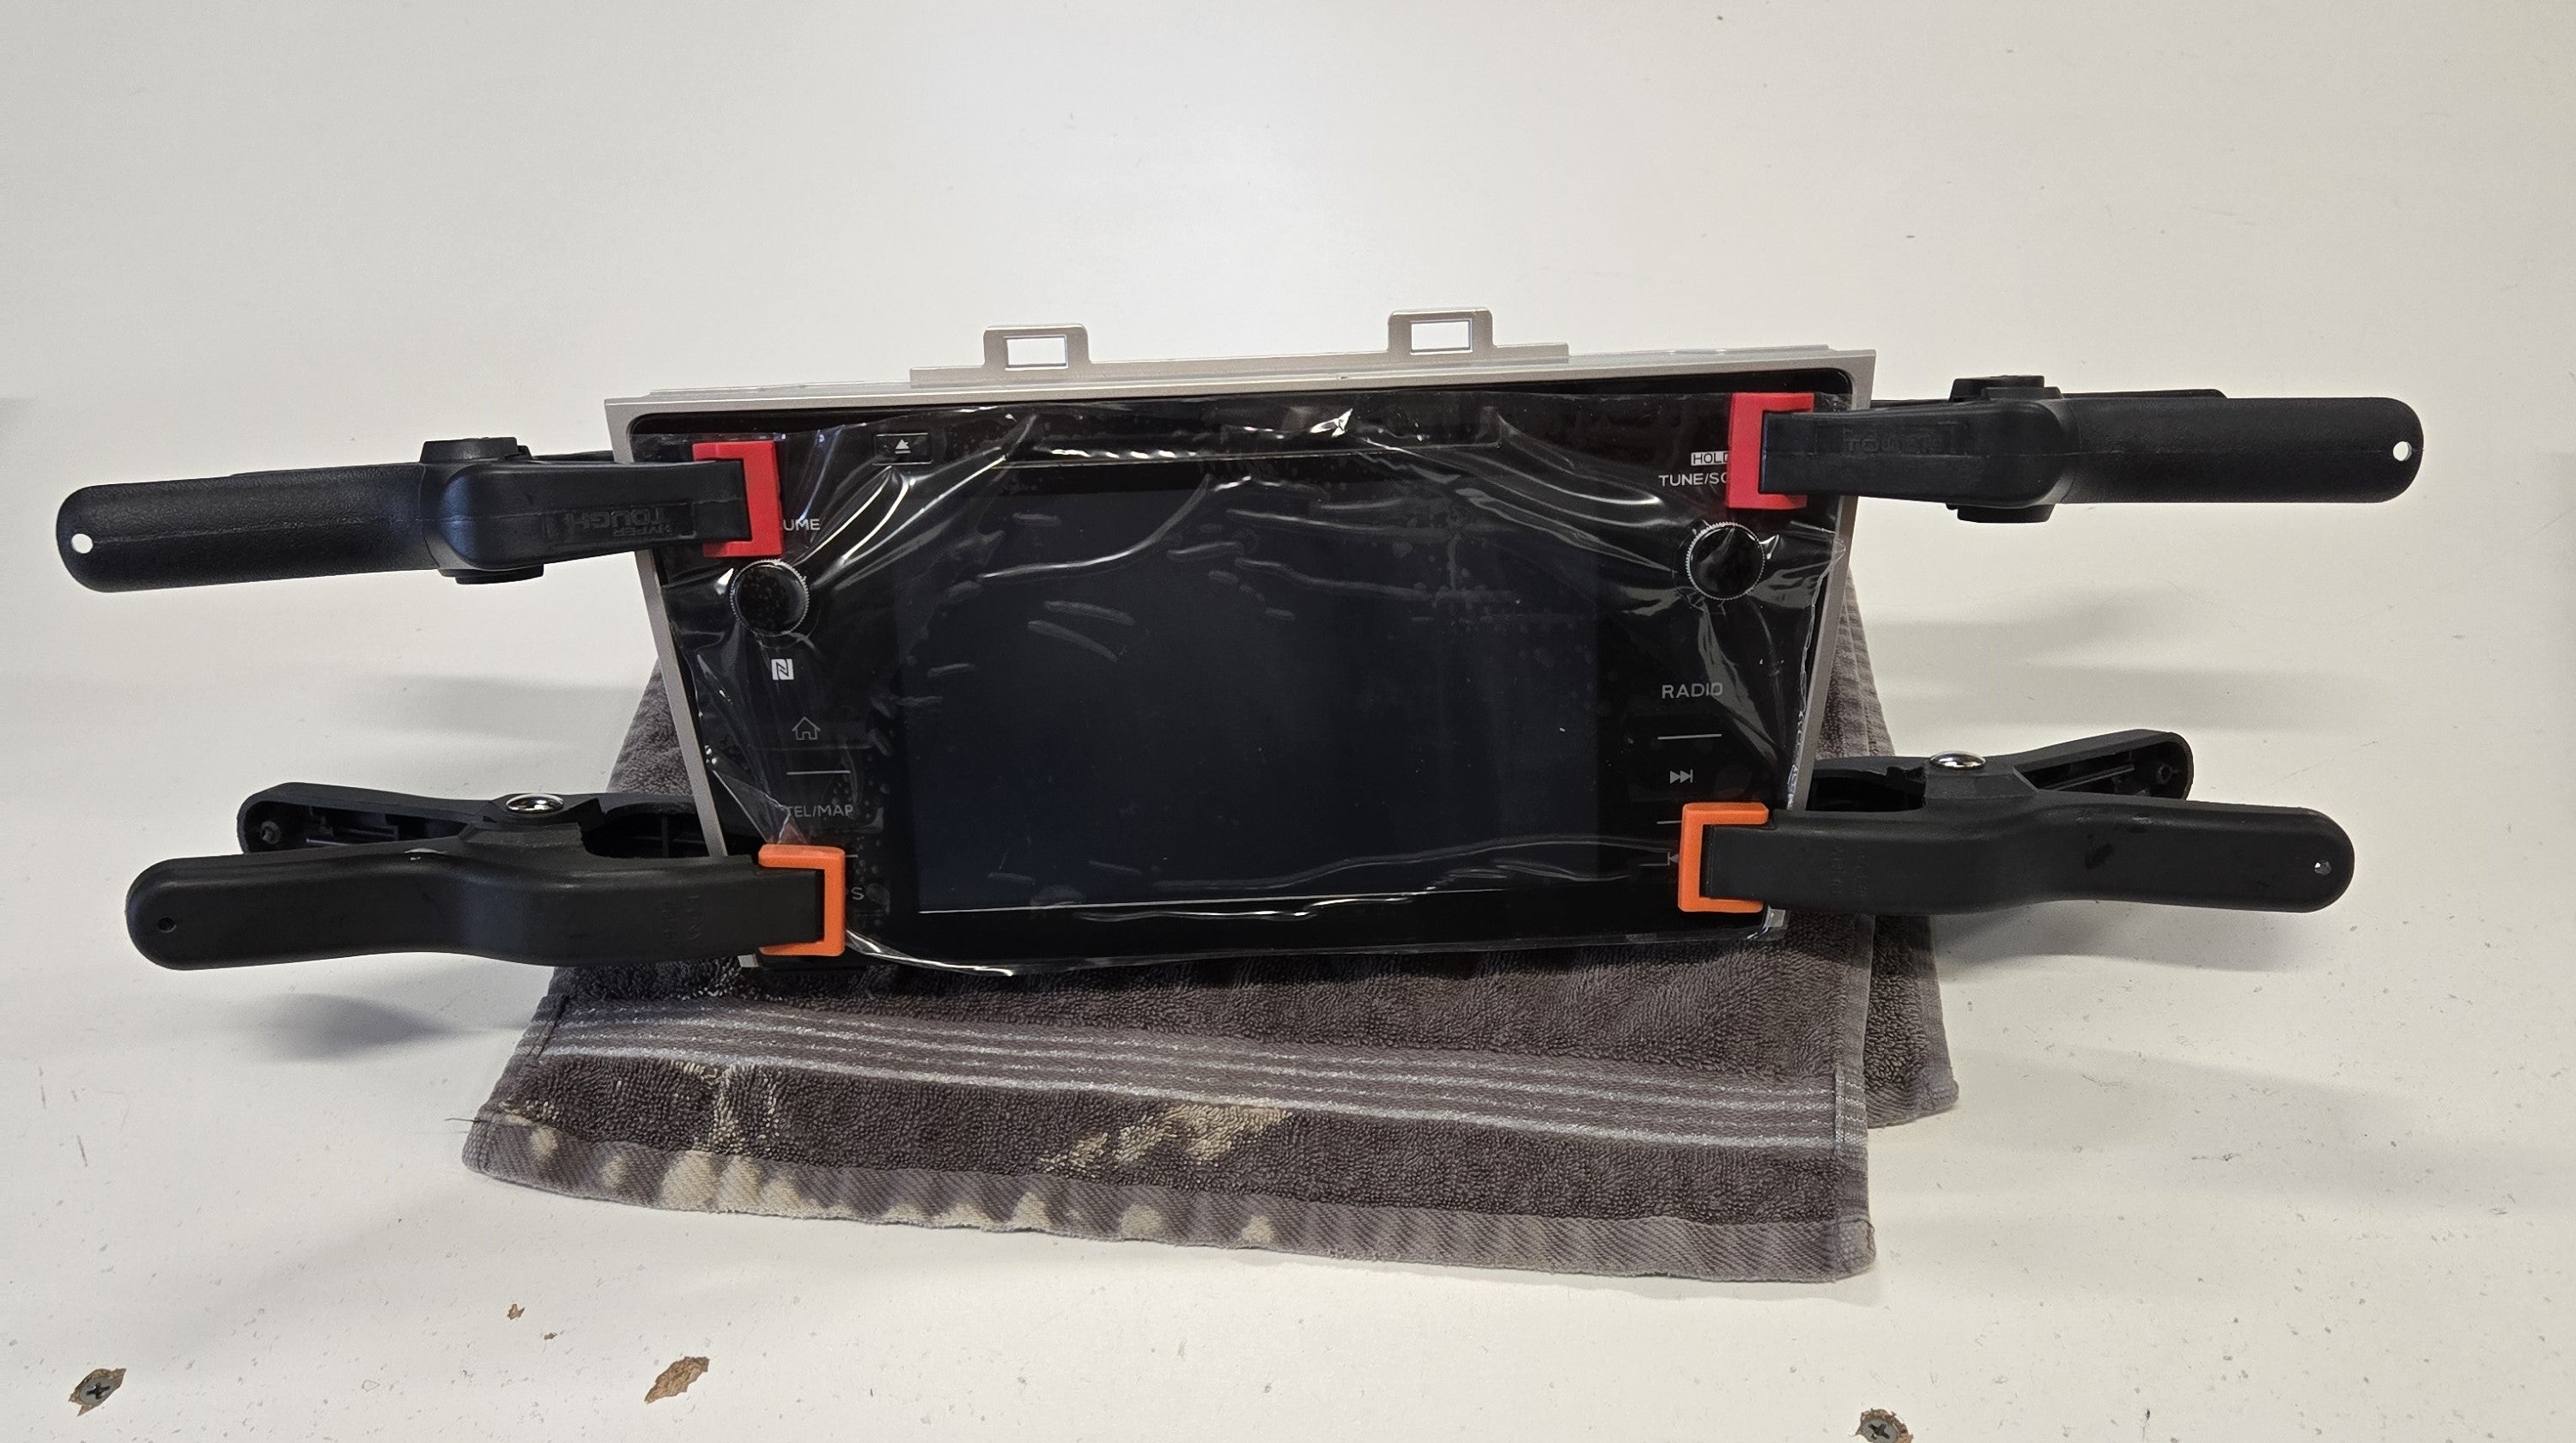
Touchscreen installation tips
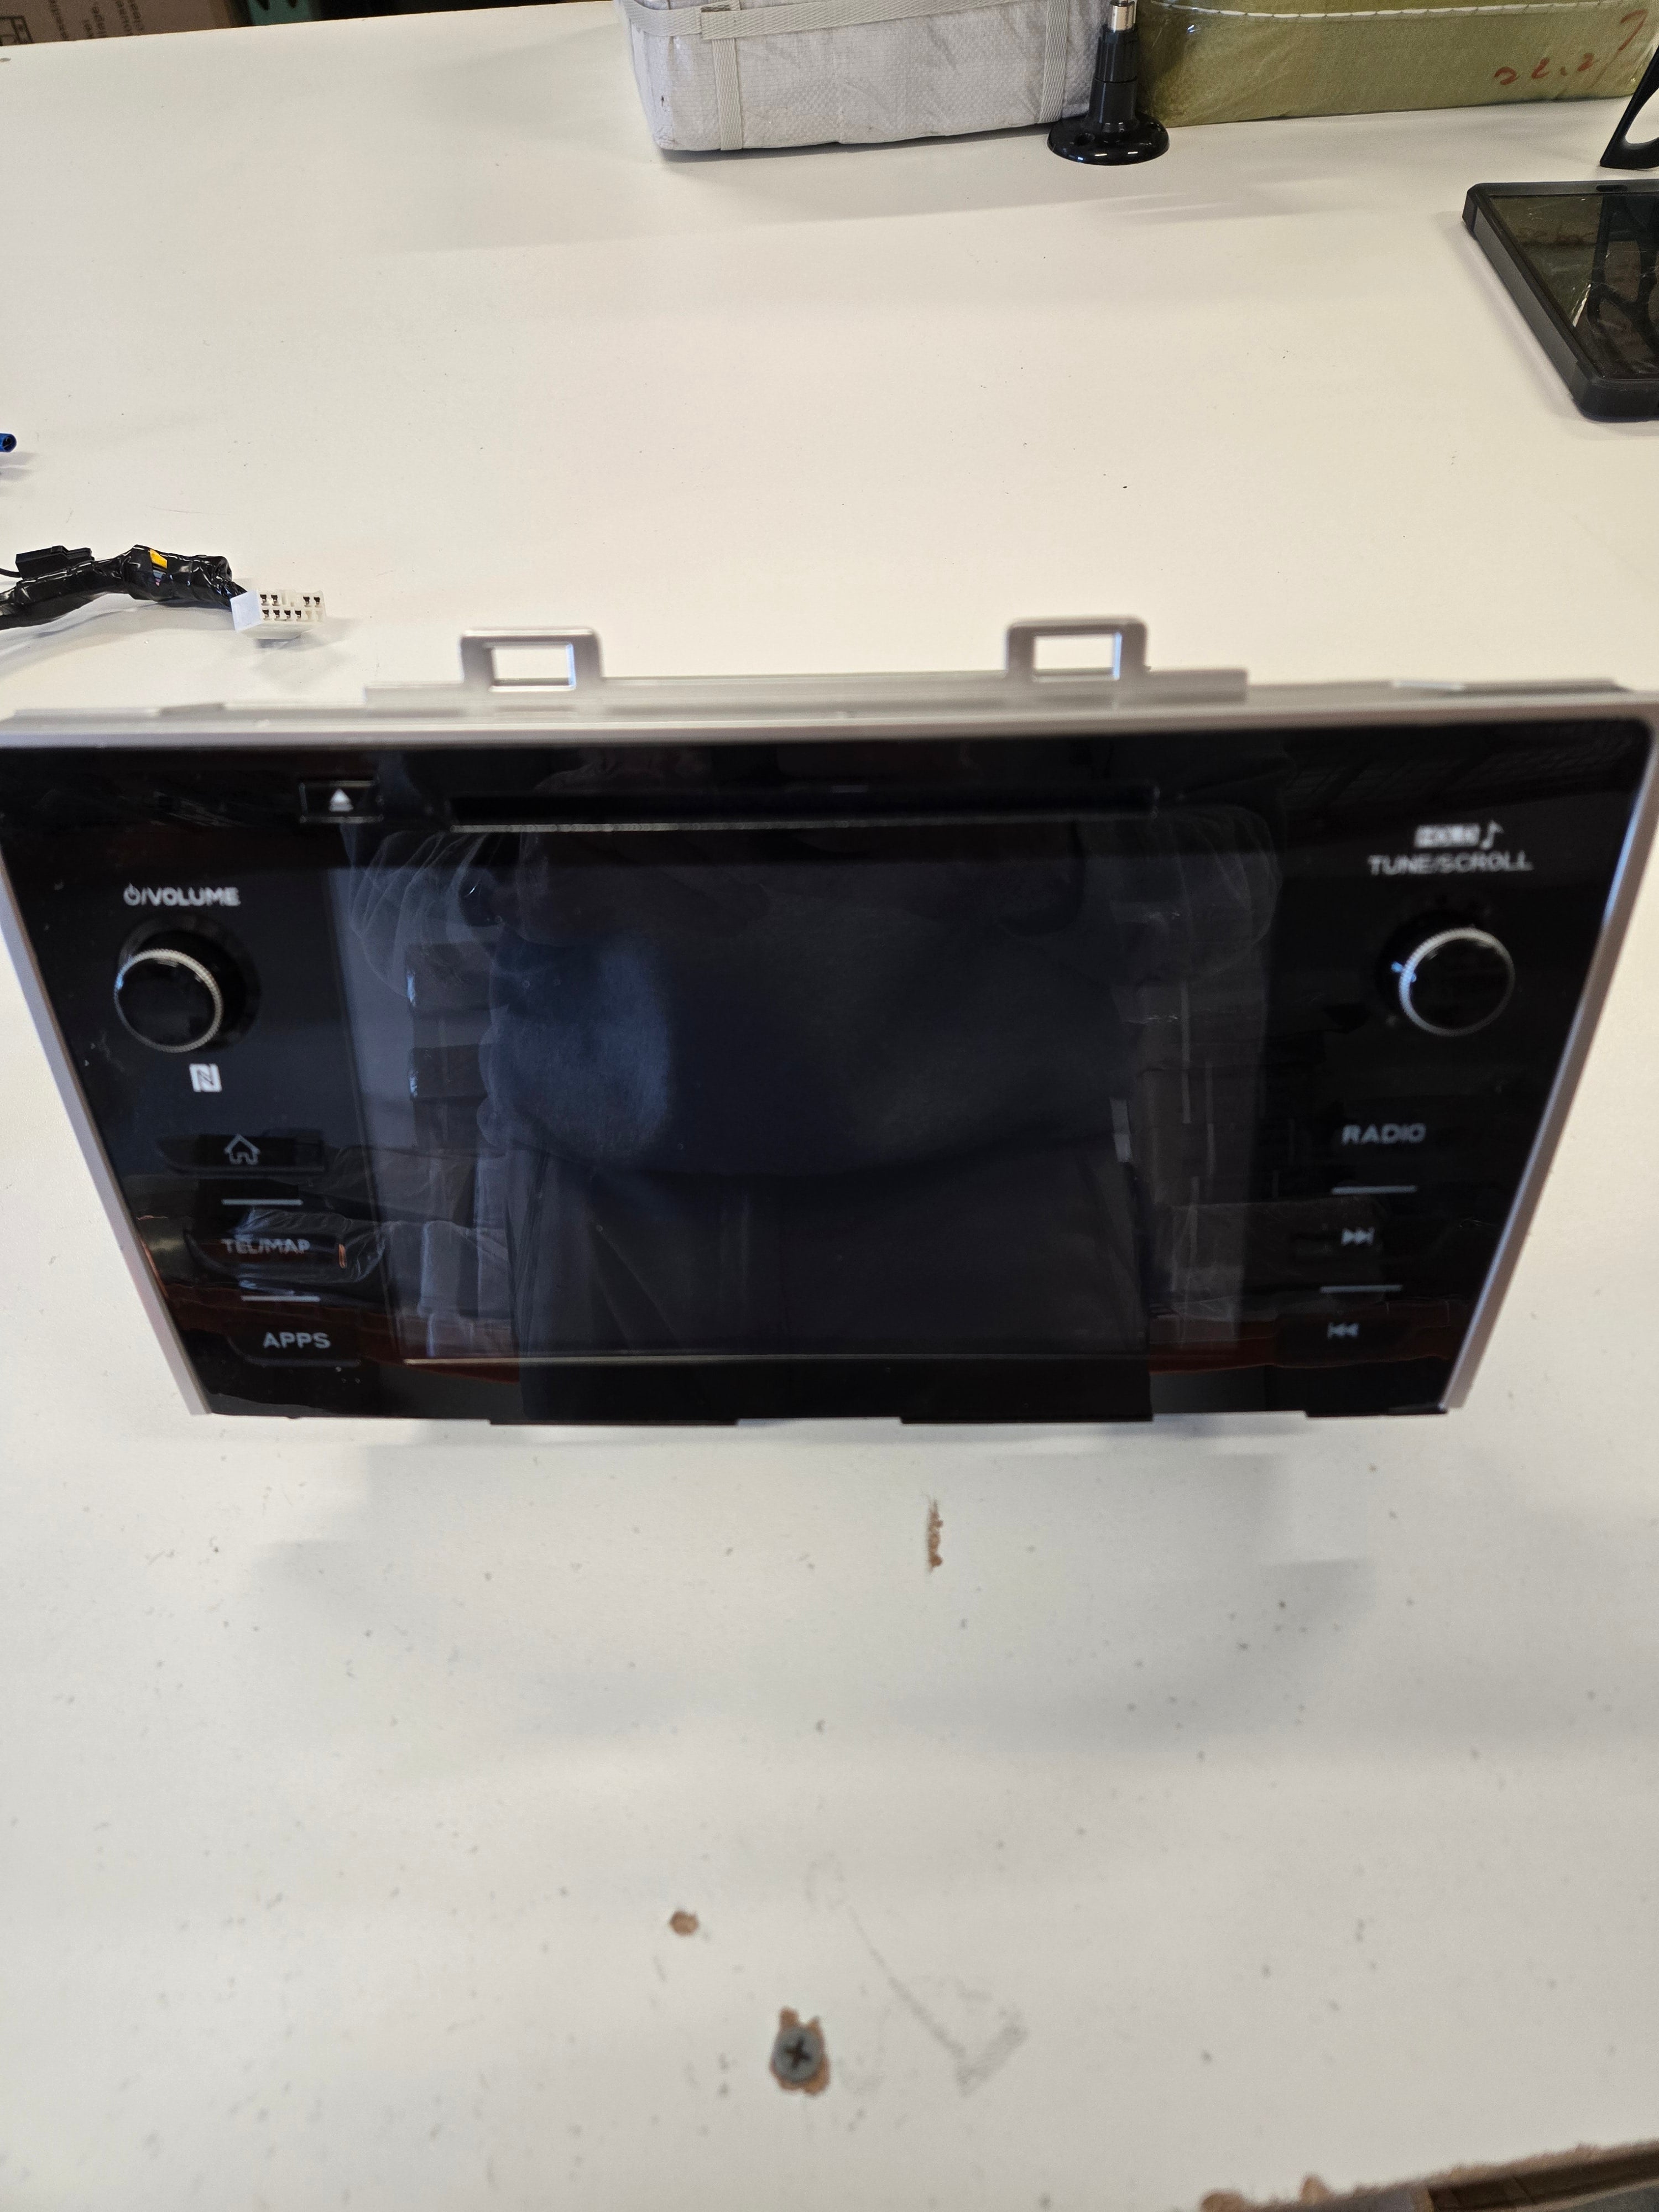
2018 2019 Subaru Outback and Legacy Radio Screen Delamination: Troubleshooting Your Infotainment Issues
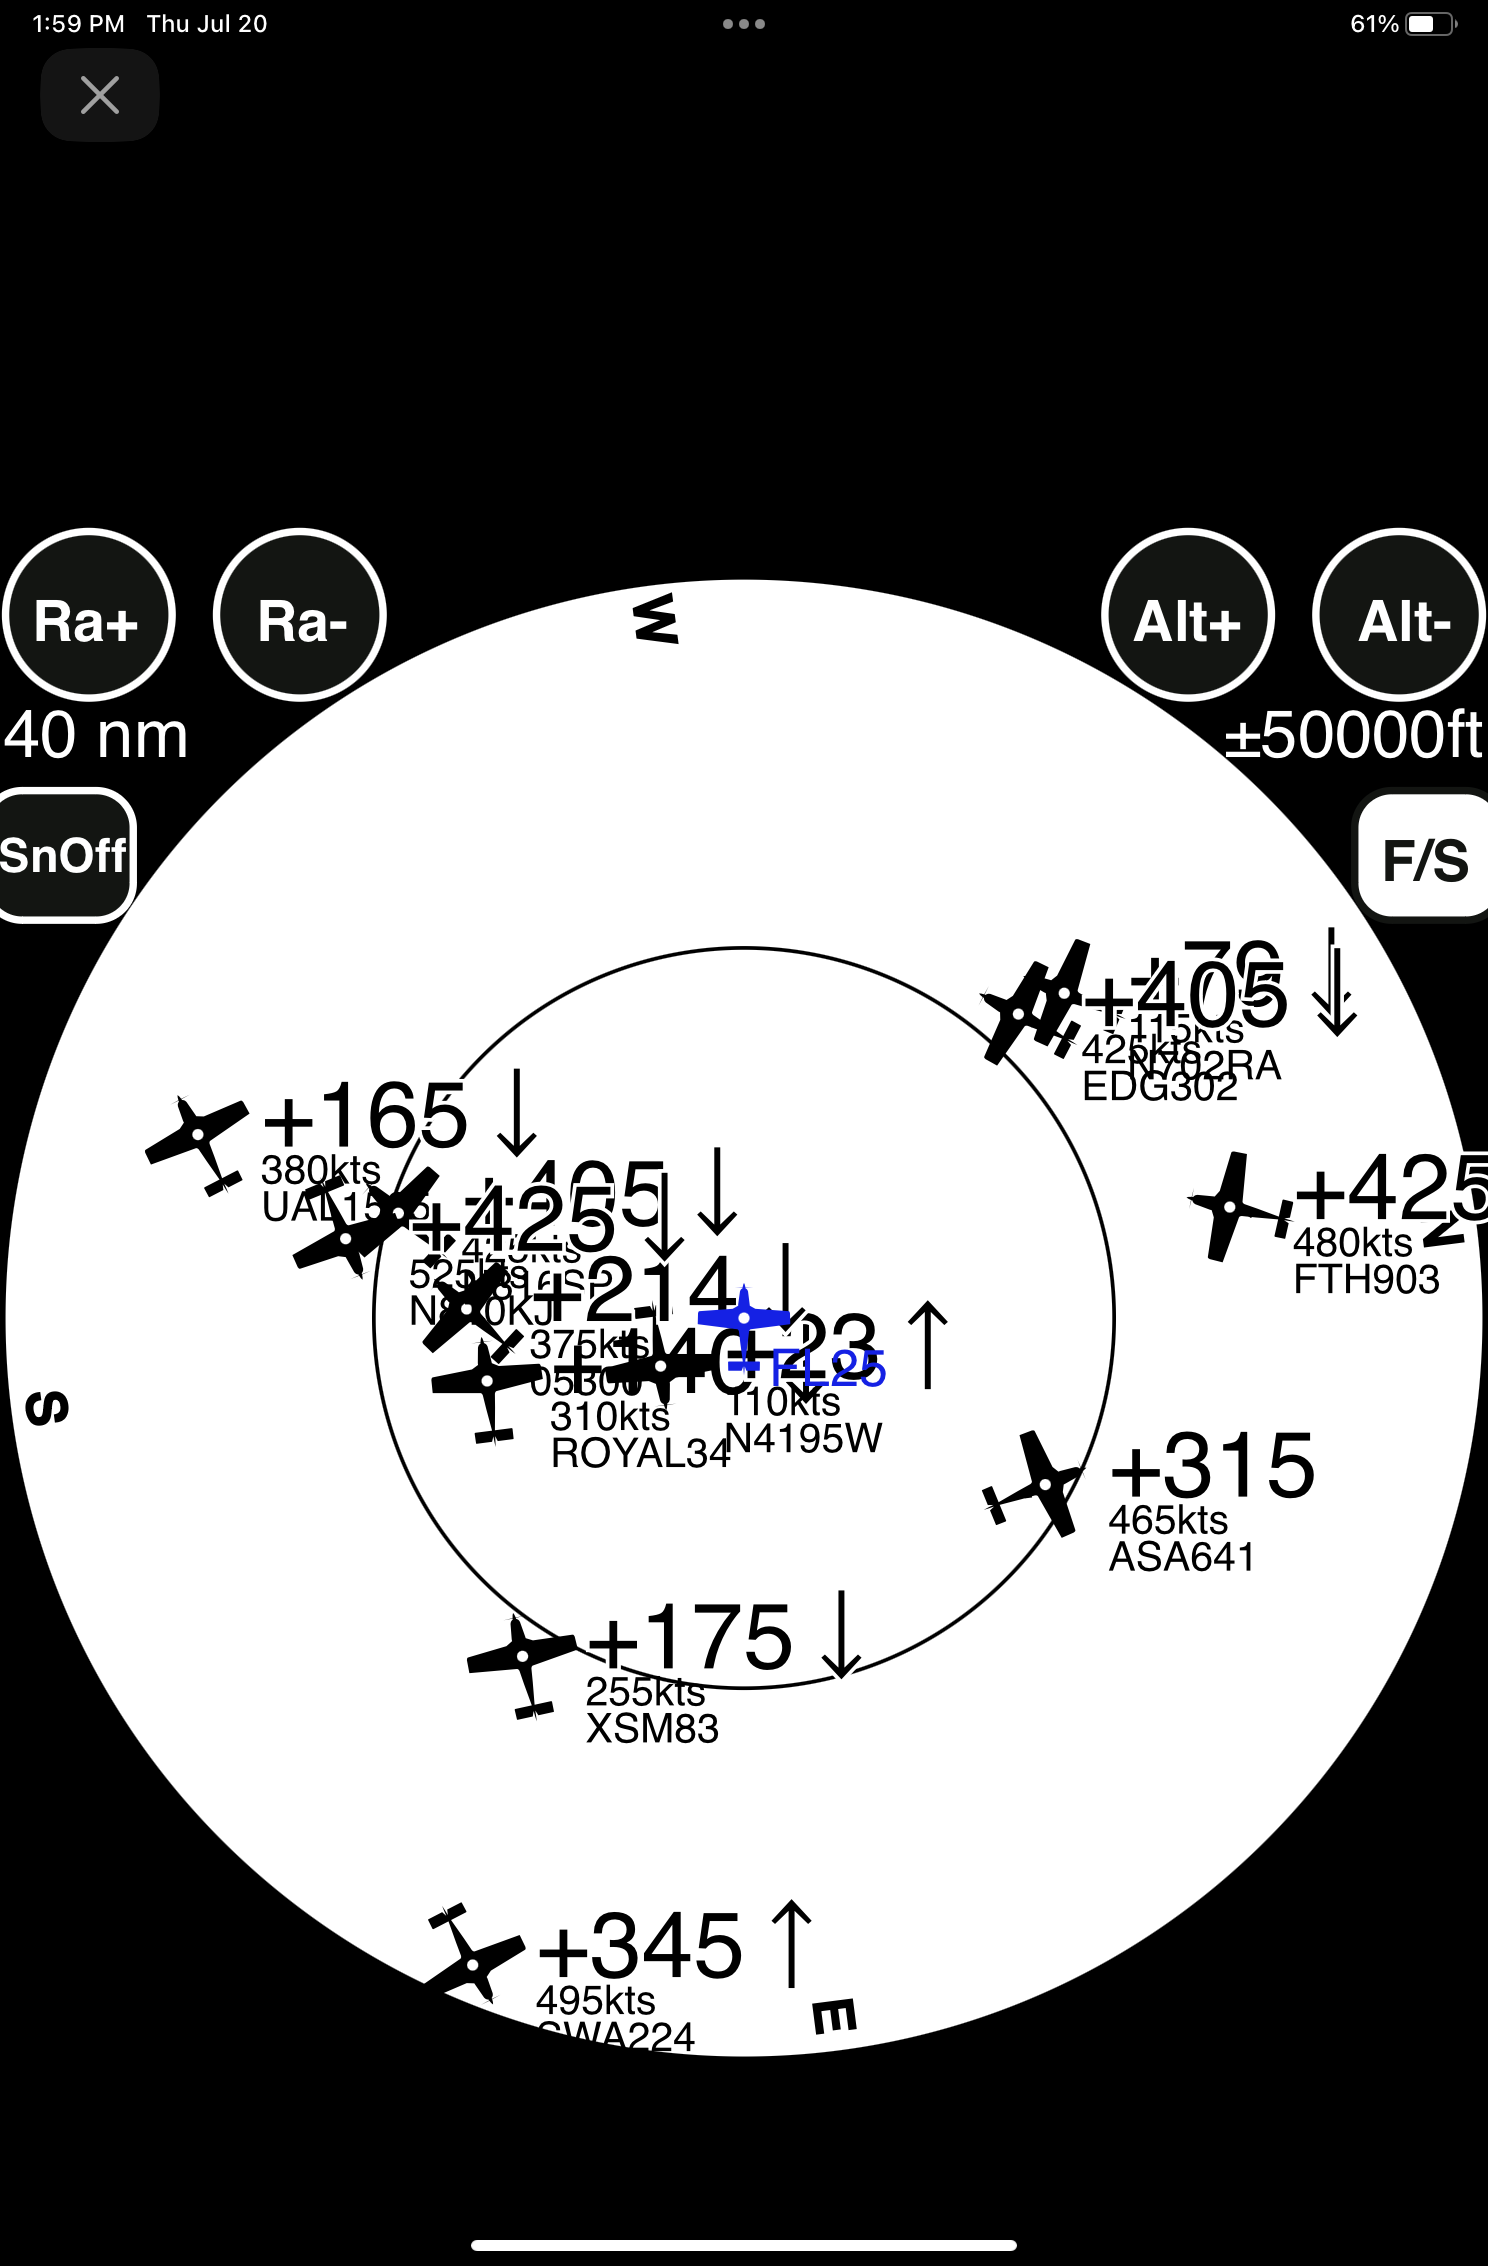
Unlocking the Power of ADS-B: The Ultimate Guide to ADS-B Receivers